My first attempt at a billiard

I drew out the rough shape of a billiard on a block of briar. Then I marked the lines for drilling the chamber. Then I taped the bits where needed.

After putting the block in the proper position in the chuck, I drilled the mortise with the 5/16″ bit, followed by the 5/32″ airway hole. I turned the shank down some with the lathe tool.

Then I spun the block, aligning the chamber lines. Drilled the chamber for 3/4″ and turned the bowl down partway. I put in a delrin tenon and cut a slot in an ebonite rod after drilling the 1/16″ airway and funneled it to meet the 5/32″ airway.

I rough sanded it on the 1×30 belt sander.

During turning, the tool hit the bowl, leaving a huge gash. I filled it with briar dust and CA glue, sanded and rusticated followed by a dark stain and buffing.

Standard

Making an acrylic stem copy

I got in a Radice Rubino with a damaged oval stem. I wanted to try my hand at making a copy in acrylic rod stock using my newly acquired Jet lathe.

The original stem had 3 stress fractures that I repaired used Stewmac 10 superglue. It has a 5 second cure time but is thin enough to fill the thinnest cracks, if you work fast. After drying, I sanded and buffed. The cracks are slightly visible but stable.

I was told to repair that stem or make a new one. I did not have an oval stem blank that large but I did have a black acrylic rod! I chucked it in the 3 jaw chuck on the lathe. First I used a Forstner bit to face it up. Then I drilled a 5/16 mortise in the end about 1/2″ to accept the delrin tenon. Followed that with a 5/32″ long bit to drill the airway to about an inch from the end. Then a 1/16″ long bit to pierce the end. I inserted the delrin tenon, flipped it over to create a slot with my dremel wheel. Funneling it down to meet the 5/32 airway with the slot tool, files and sandpaper.

The fit was light tight against the shank.

I used the 1×30 belt sander to cut down a bit end chunk and shaped the bit and bite area. Also worked the rough oval shape.

While working the button, it fell about 8″ and chipped off a large portion!

After measuring, I ground down the old bit. Using files, I was barely able to cut a new button.

Using my belt sander i created the double saddle stem.

I used the dremel sanding drum to cut in the curves and smoothed with sandpaper. I sanded my stem and matched the shank with files to shave off the last excess acrylic. More sanding, a bend and it’s done.

I’m amazed at how its almost an exact copy of the original. Putting in the dots will have to wait for another project. Oh yeah, it took 12-16 hours!

Standard

A humbling cracked shank reconstruction

I got in a Tinsky pipe with a cracked oval shank. The top and bottom of the shank was too thin to survive pulling the stem out warm I guess. Instead of banding it, I decided to put a brass sleeve inside the shank. A band would have covered a lot of the nomenclature.

Here’s where the restoration went off the rails. I wanted to glue the shank cracks before I started with the tube insertion. I put the tip of the tenon in the shank and gave it a slight flex to open the crack a hair more while applying some 10 thin glue from Stewmac. This has supposedly a 5 second dry time. Needless to say it froze the tip of the tenon in the shank while sealing the cracks on top and bottom.

So, I just created a whole new batch of work for myself!

Having to cut off the tenon resulted in a new tenon needing to be put in. I hand drilled the old tenon pieces with progressive sizes of chucking reamers in the stem and shank after cutting them flush. I put a piece of brass tubing on a dowel, chucked it in my lathe and reduced the outside diameter to wafer thin with sandpaper. Turning to the stem, while reaming it larger, the star logo fell out. I turned down a piece of delrin with the tenon turning tool to fit in the tube. Then I flipped it over and turned down the side going in the stem. I had to make a dozen attempts before I got both ends sized correctly. Various mishaps made me do it over and over. I funneled both ends of the tenon with the countersink tool.

Now was time to assemble everything with G Flex 655 epoxy, which takes 24 hours to cure like steel. I roughed up the stem side of the tenon and inside the stem with a dremel bit for the epoxy to physically lock together. I applied some epoxy inside the shank and the outside of the brass tubing which I CAREFULLY inserted into the shank. I then applied some epoxy inside the stem and put the tenon in the shank, stem on the tenon and wiggled it around for a tight fit. I also glued the star back in at the same time. Then I taped it up and let it sit overnight.

After removing the tape, the stem was slightly off center left to right. Enough that I had to massage the fit with sandpaper and touchup the stain.

I then saw there was still some crack visible and the slightest nick on the mortise.

I reapplied glue sparingly and sanded down when dry. Another stain touchup and a run through the buffing wheels. After an intense prolonged battle, I won! The cracks are NOT visible and the tenon fits sweetly in the shank! The pipe is ready for service without a band to change the look of it. If it hadn’t of been for my slip up with the glue, it would have been a lot easier!

Standard

Major surgery on a Peterson’s Good Health billiard

I had a Pre-Republic Peterson’s Good Health billiard in my box of restorations, a bag actually as 2 pieces of the shank broke off just behind the nomenclature. Of course I cant find my before pics of the loose pieces. I used a series of reaming chucks to widen the mortise. Then cut a length of brass tube, roughed it up and epoxied it in place, fitting the loose pieces onto the shank.

I had a preformed tapered stem I turned the tenon to fit the mortise. You can see it was a little wider than needed, so I worked it down flush with the shank.

While working on the stem, I took a poll online and decided to put a nickel band on to dress it up and help cover the cracks. I sanded the glue off the cracks and was able to not disturb the nomenclature. A touchup of dark brown dye on the shank blended beautifully with the original stain. I sanded and buffed the stem after thinning the bite area and funneling the airway. A run through the buffer wheels and it’s a serviceable pipe once more. With a few fills I left alone, the replacement stem and internal repairs, it doesn’t have high value of a collector piece but will make an awesome inexpensive smoker with a lot of history.

Thanks for reading!

Standard

Boredom begets creativity

I have an Amphora bent pipe that I repaired the stem on. I was bored and curious as to how to make a Churchwarden out of it. At first I was thinking to cut the original stem above the logo and splice in the CW stem with a brass sleeve. I decided to make a faux bone looking extension out of an acrylic stem.

First I used the forstner bit to square up the CW stem and the acrylic stem. I inserted a delrin tenon into the acrylic stem and sized it to fit the shank of the pipe with the tenon turner tool. Then I cut a section off and drilled it to accept the tenon on the CW stem which was vulcanite as I wanted it to hold the glue better than a slippery delrin tenon. The frozen adult beverage helped!

Next was to grind the excess off the acrylic spacer. I put some freezer tape on each side and used the belt sander.

Then hand sanding and using the heat gun to bend the stem before buffing. I’m pleased with the end result and now the new owner will have 2 stems to choose from.

Thanks for reading!

Standard

Surgery on a broken stem from a Champagne 614 by Savinelli

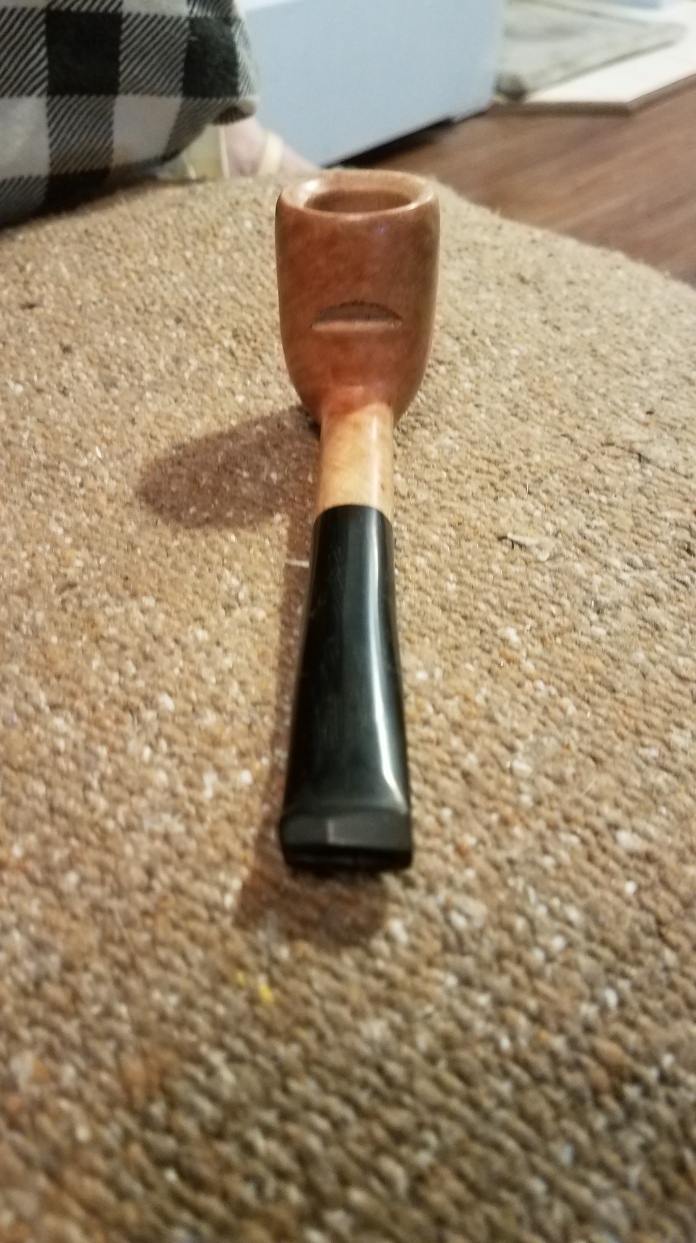
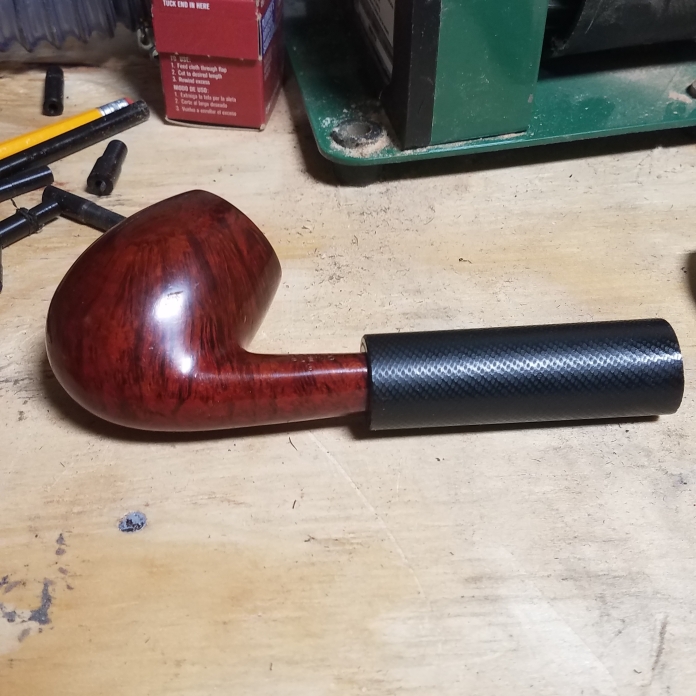
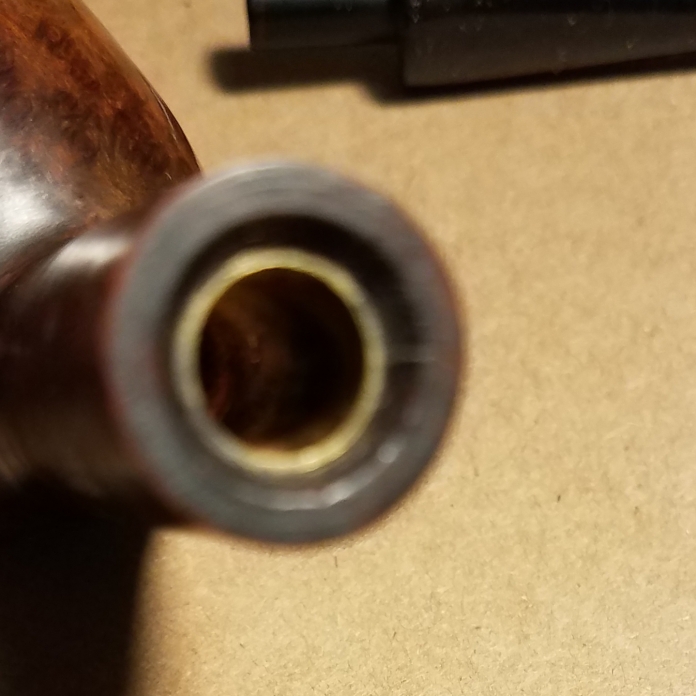
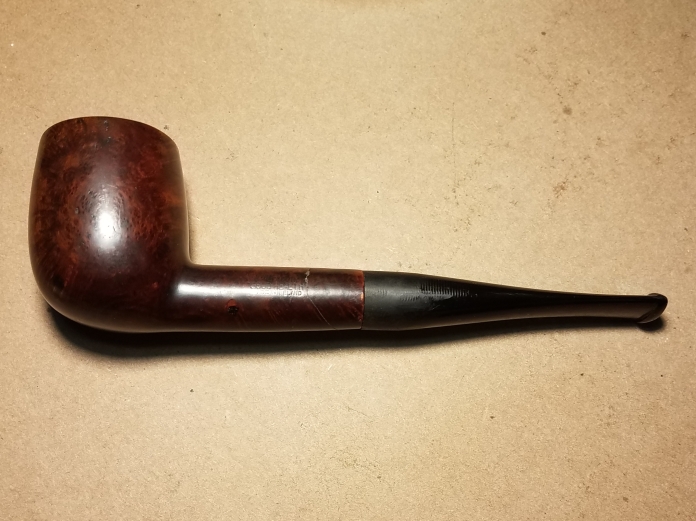
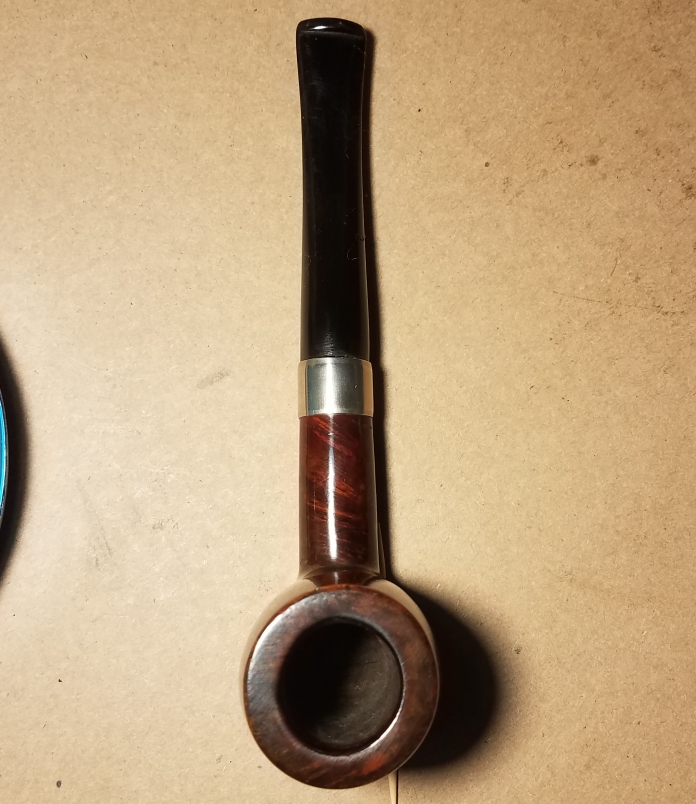
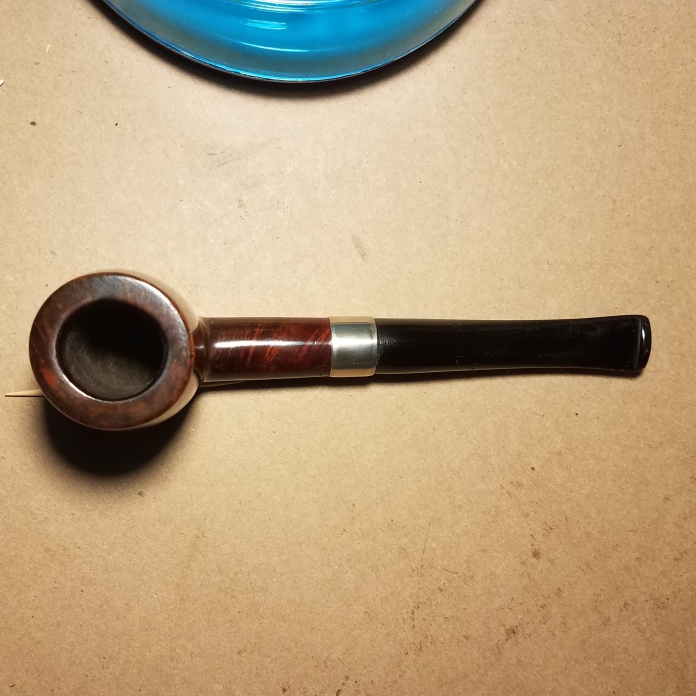
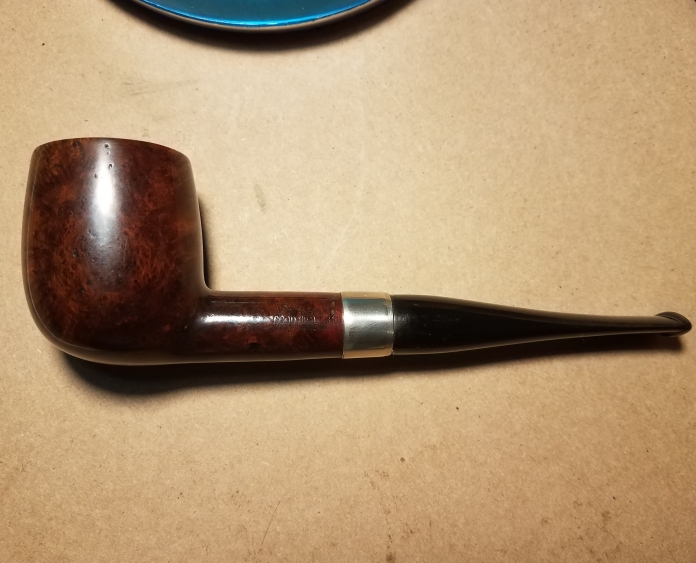
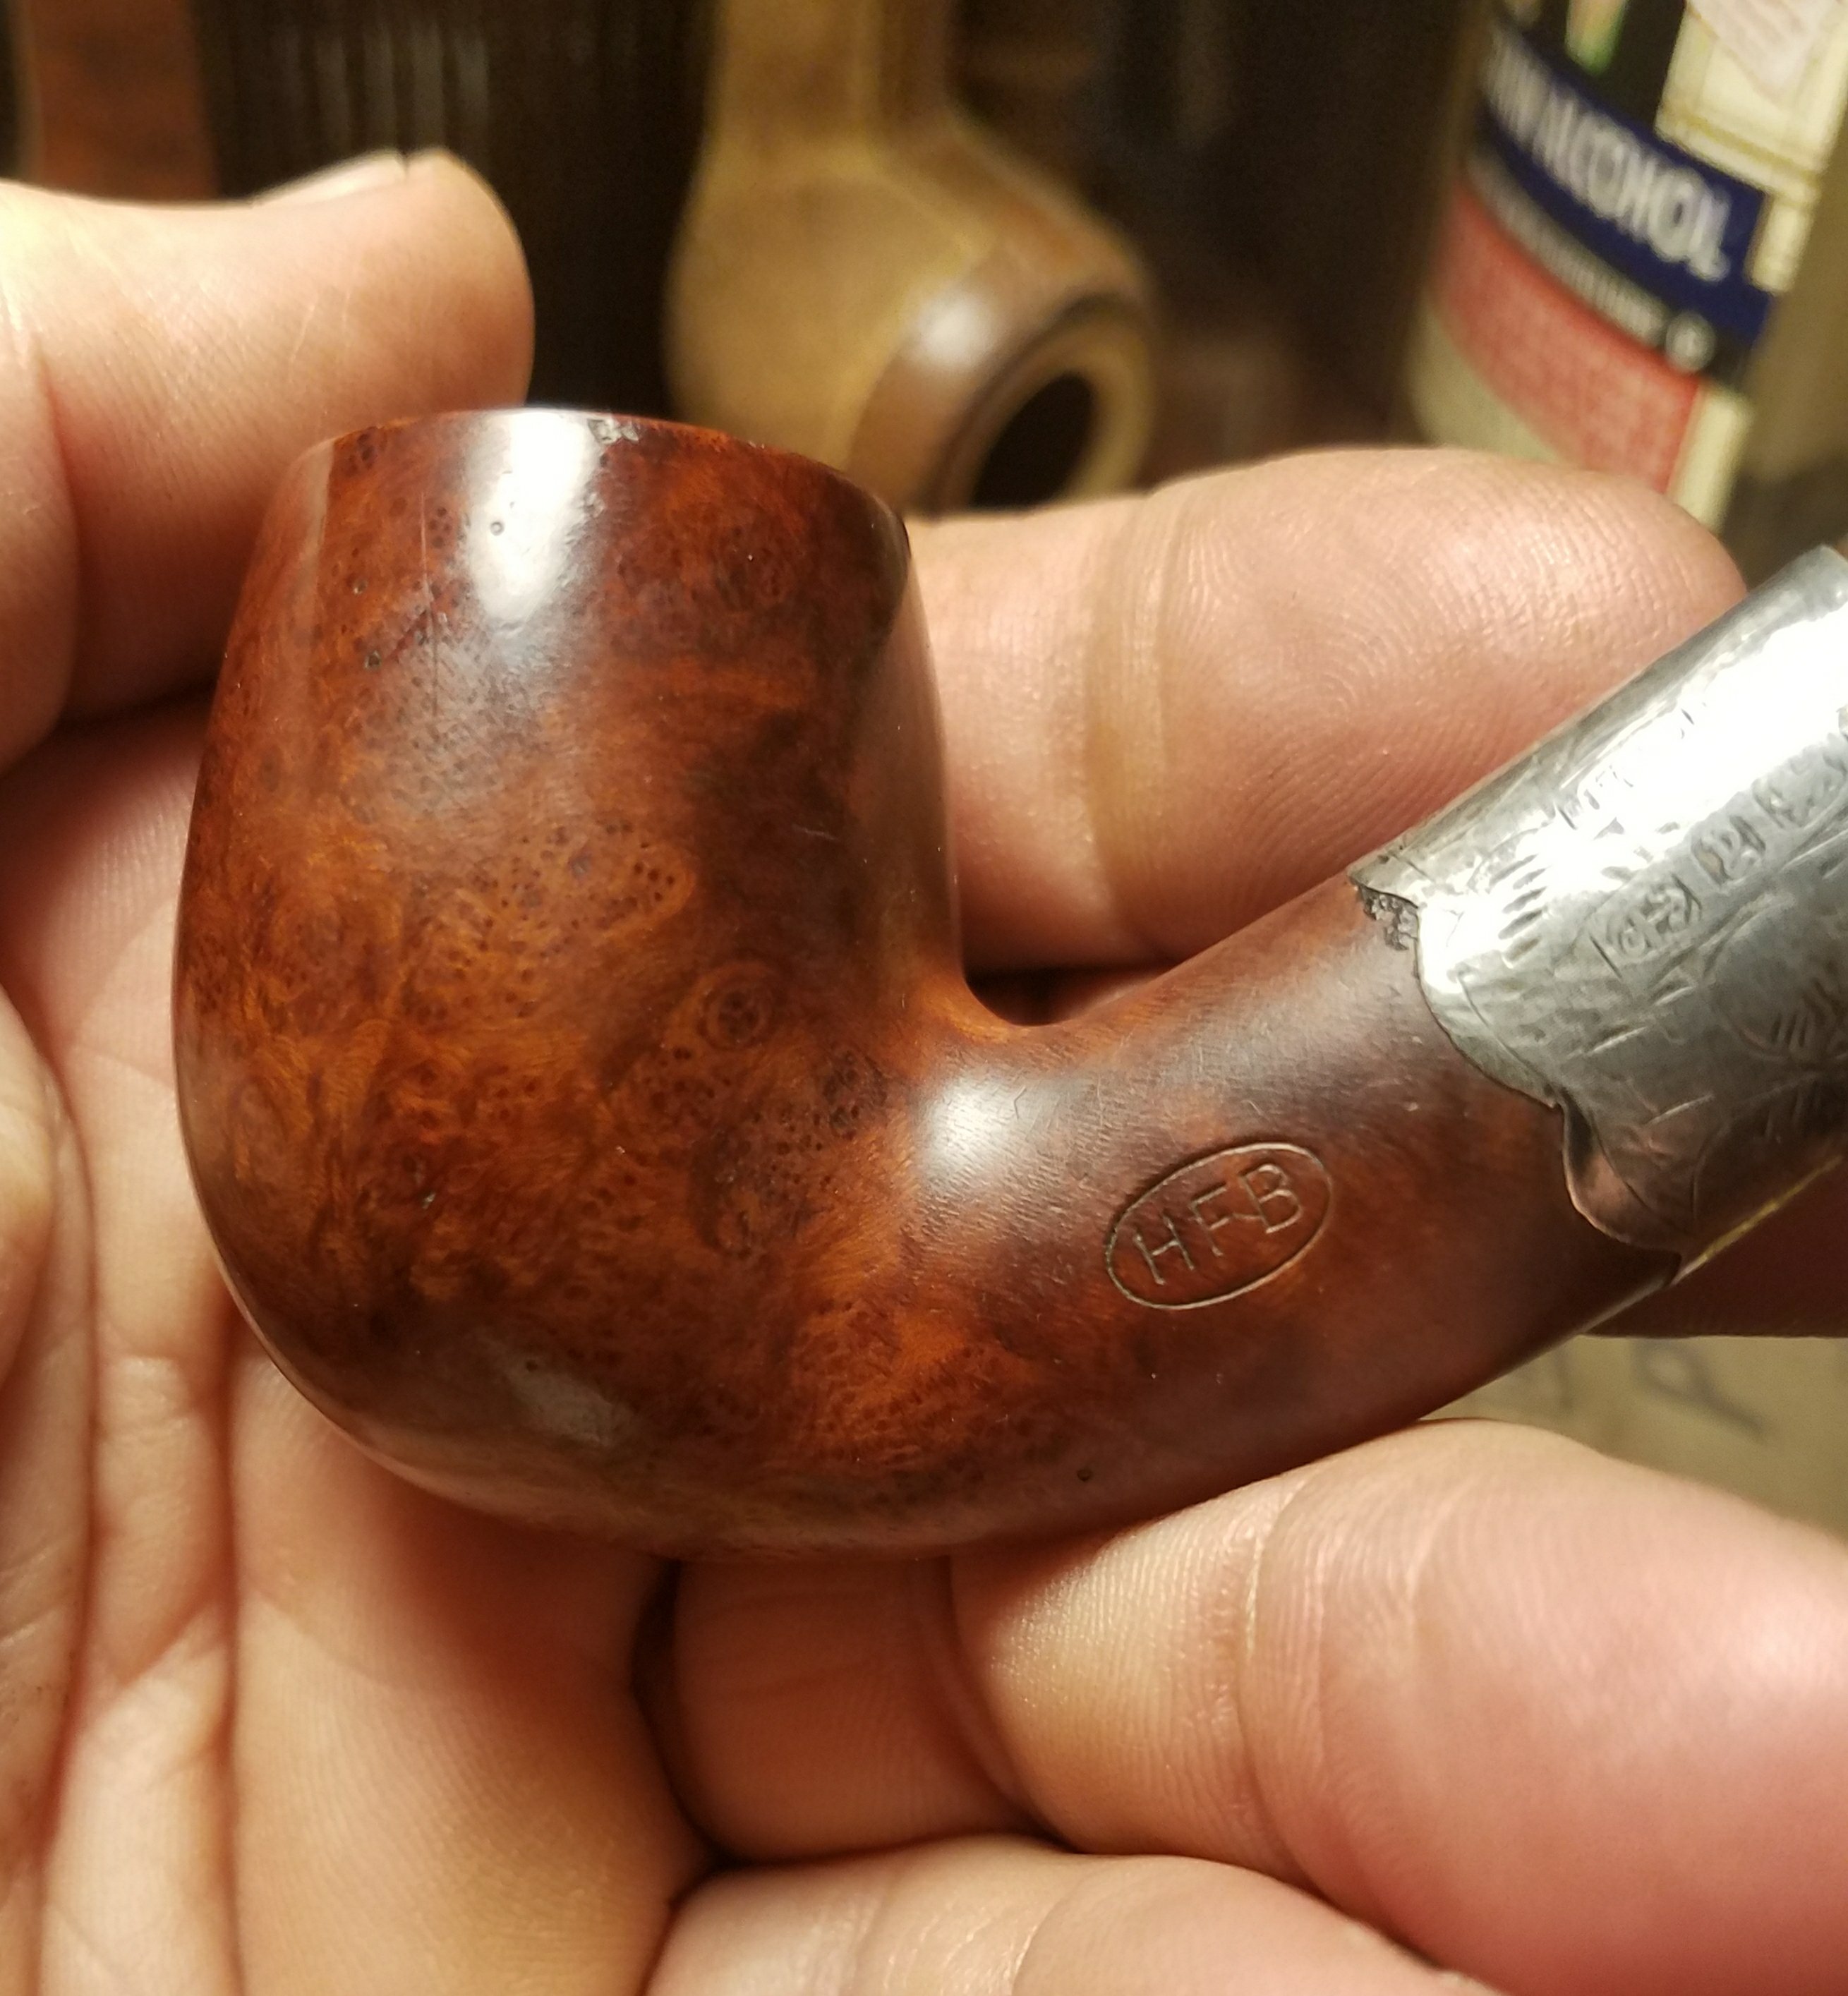
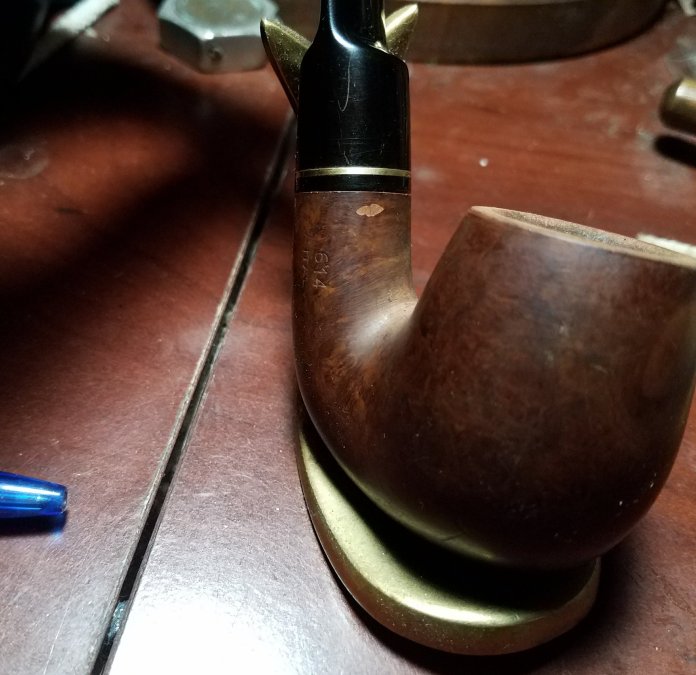
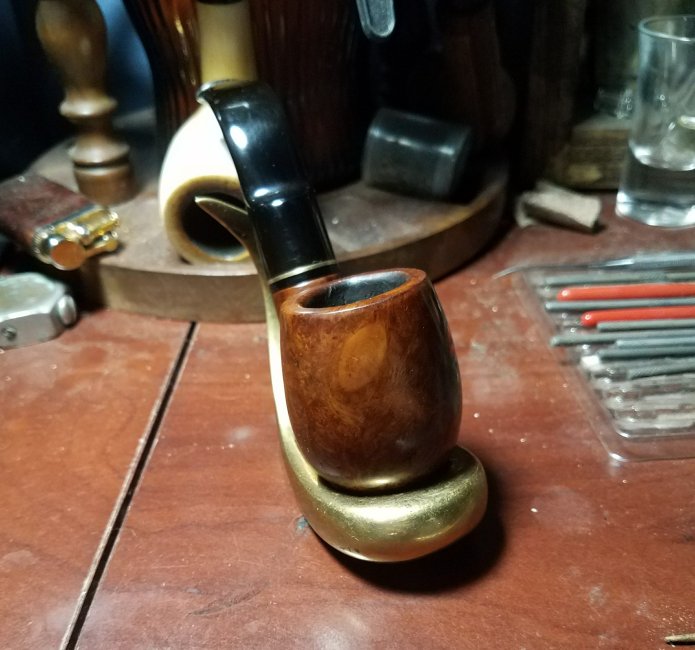
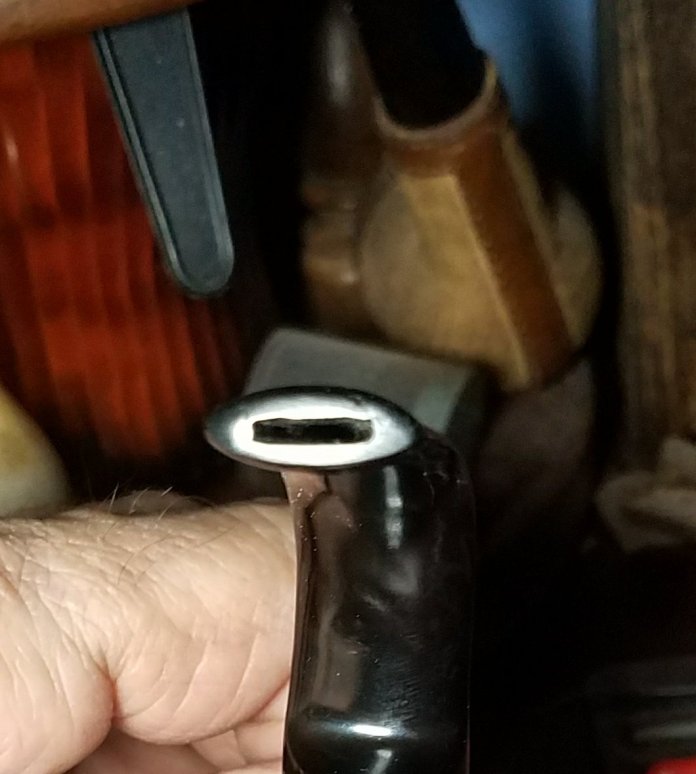
This was a typical example of a well used pipe. The rim had a chip taken out from repeated tapping it on a hard surface. Thick lava covered the rest of the rim and the rock hard cake was very thick. The main challenge was the original stem had a fingernail size broken off at the bit. The opening was so large, exposing the entire airway, it had me wanting to try my hand at replacing a whole section instead of my usual patching holes and rebuilding bits.

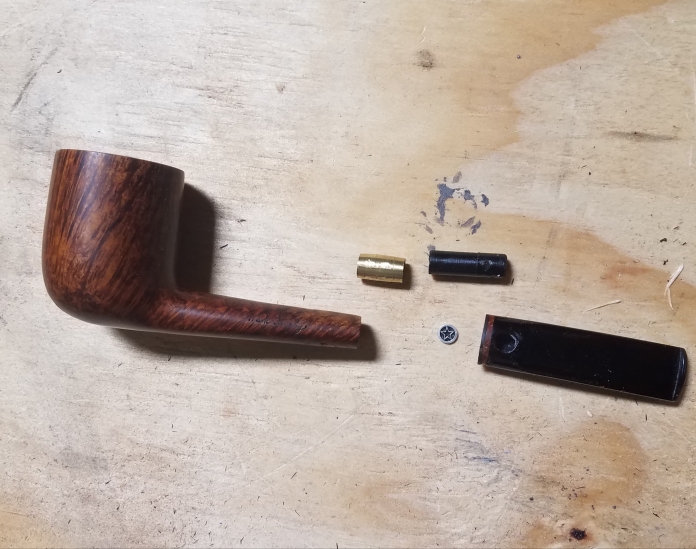
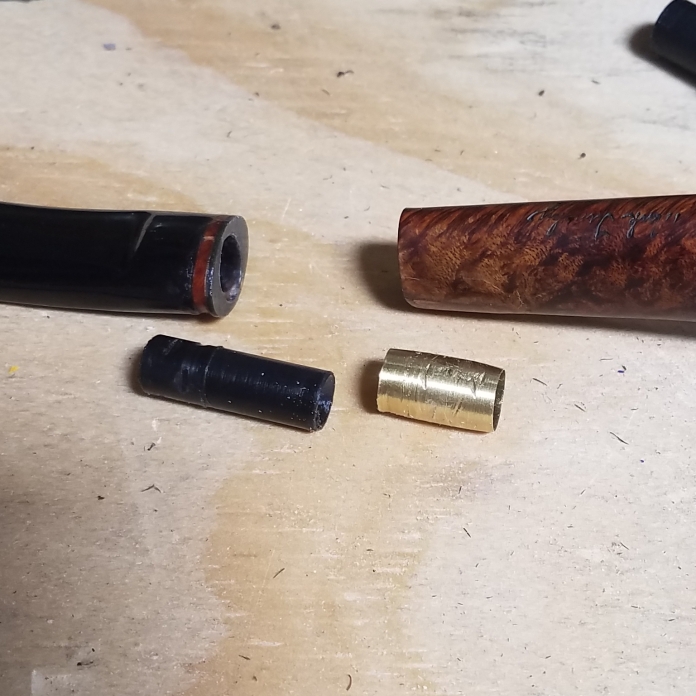
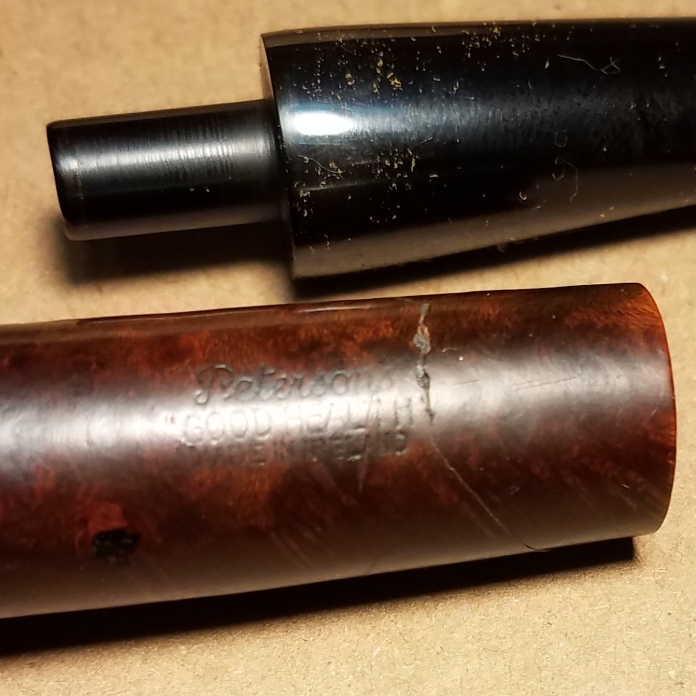
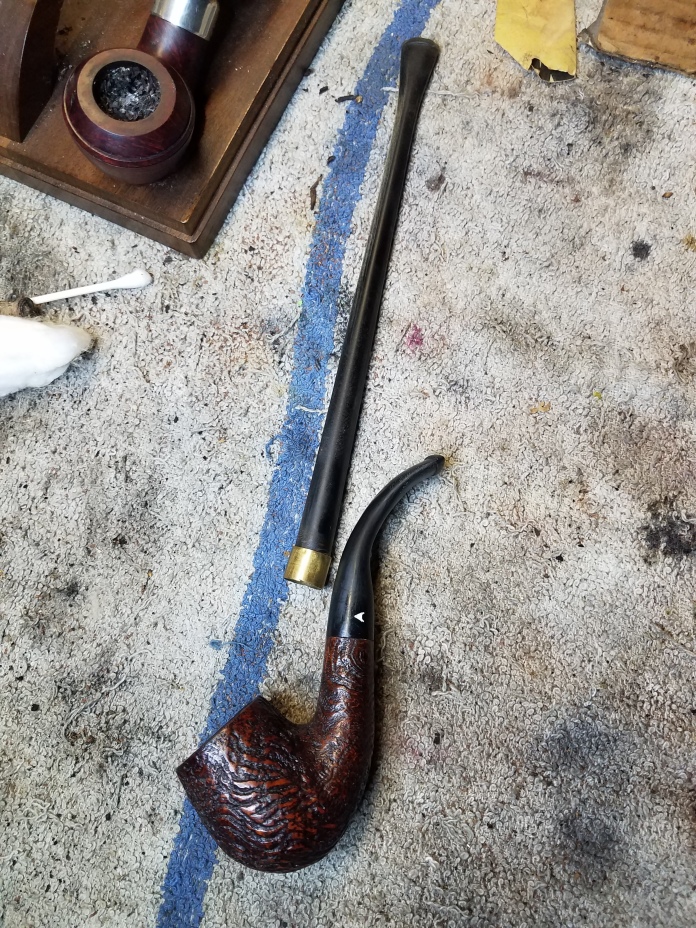
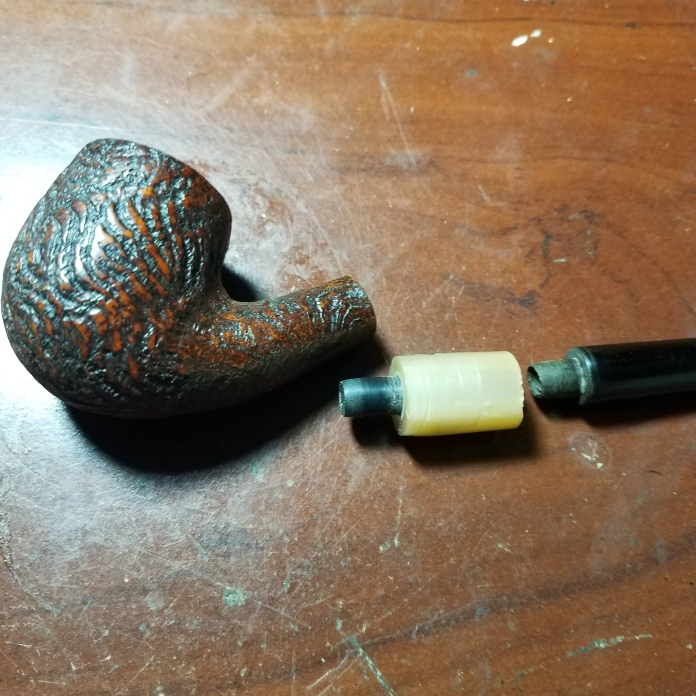
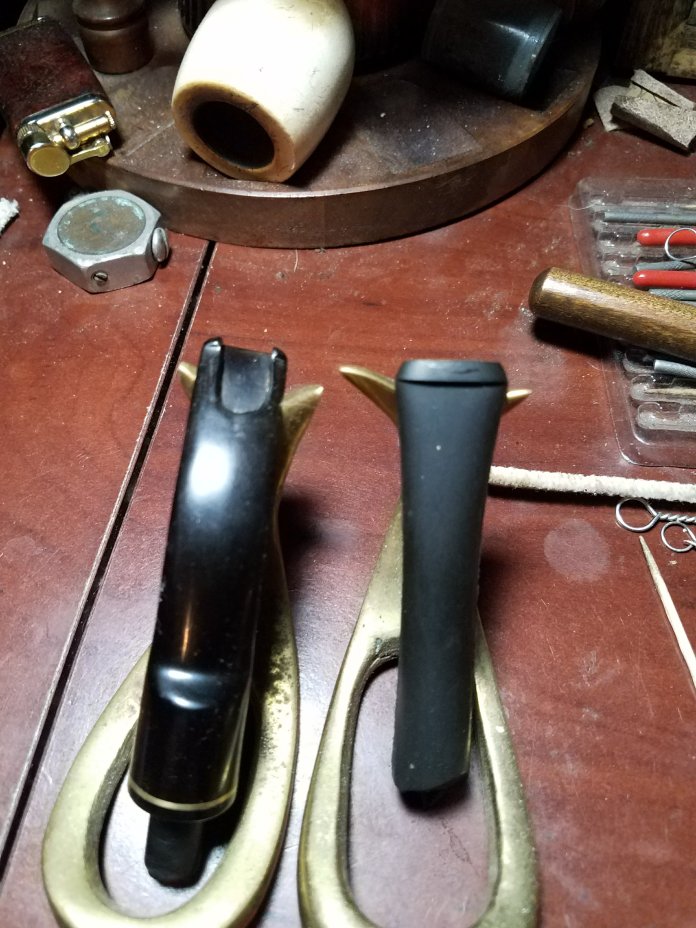
I found a damaged donor stem and took a pic side by side, feeling like Dr. Frankenstein.

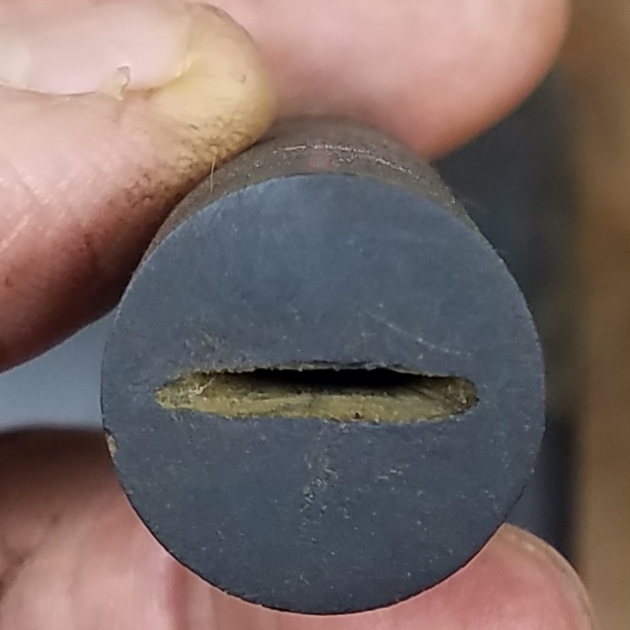
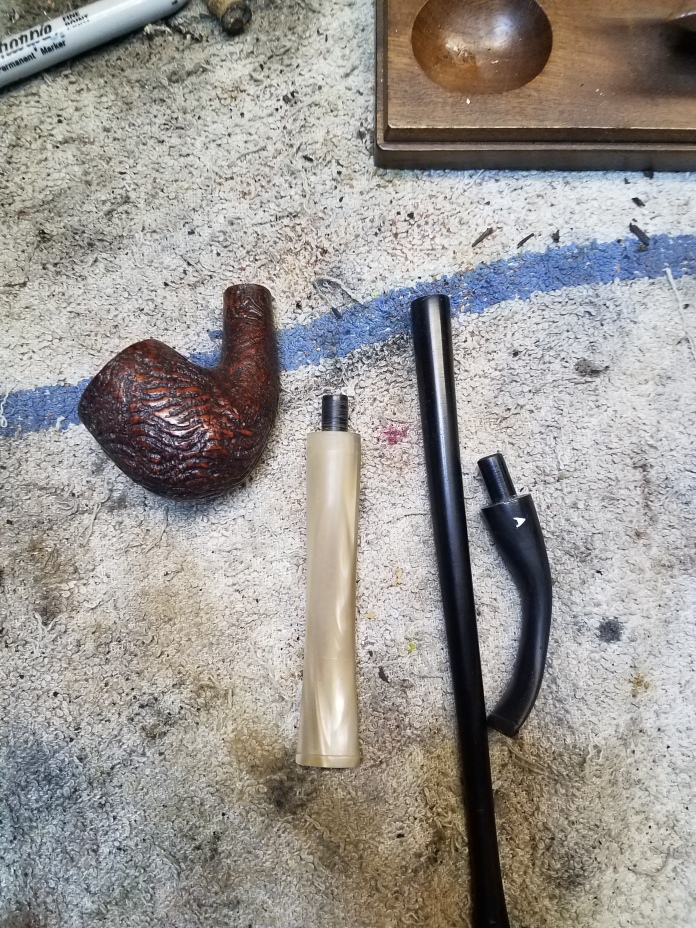
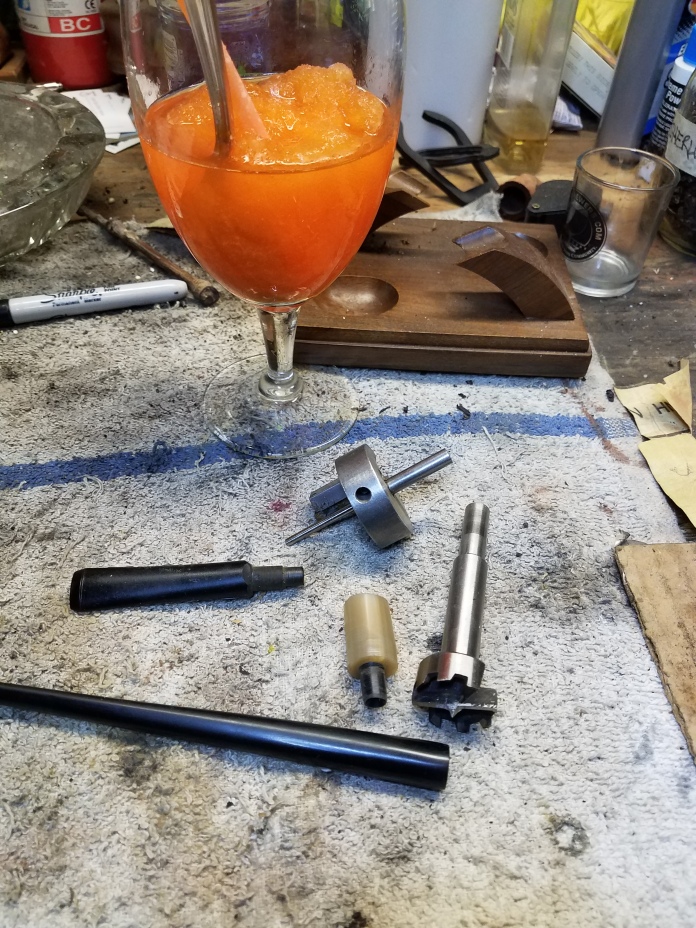
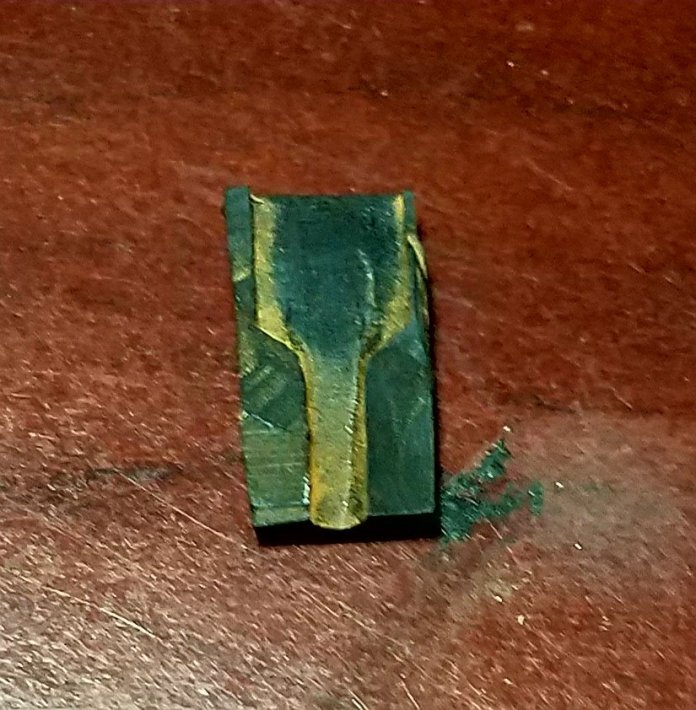
I used a cutting wheel on my dremel and cut out a section pretty close to what I needed. Here it is upside down so you can see the funnel area.

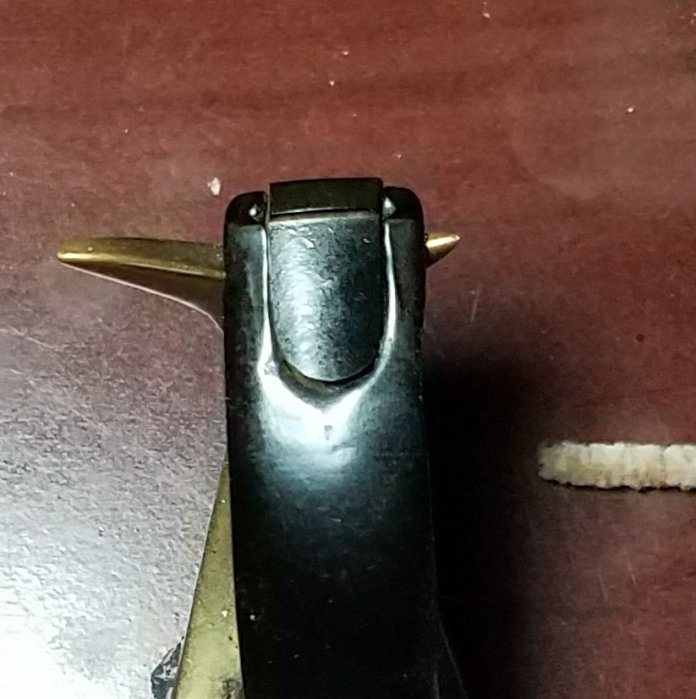
A little filing and it fit the area, I wanted the edge of the bit to line up on the stem side, not worrying about it protruding on the other side.

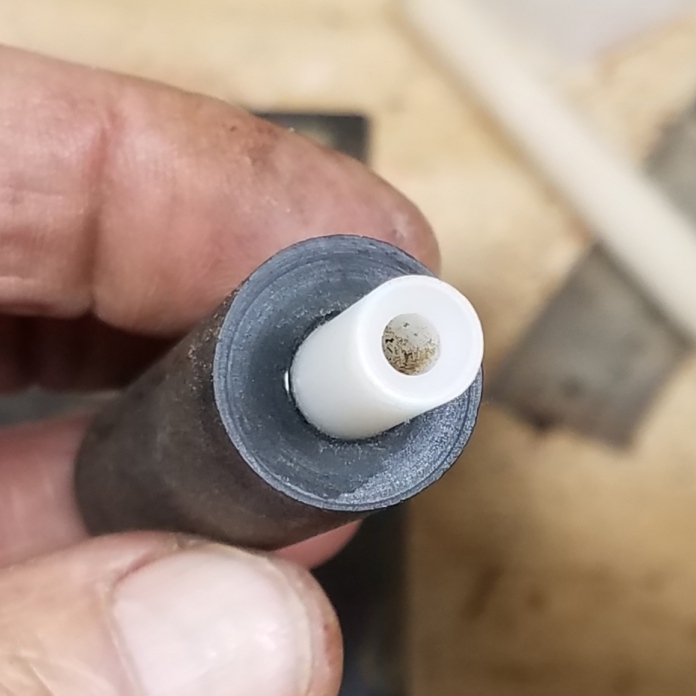
I put a pipe cleaner wrapped in clear tape in the airway, charcoal and black CA glue to seal it in.

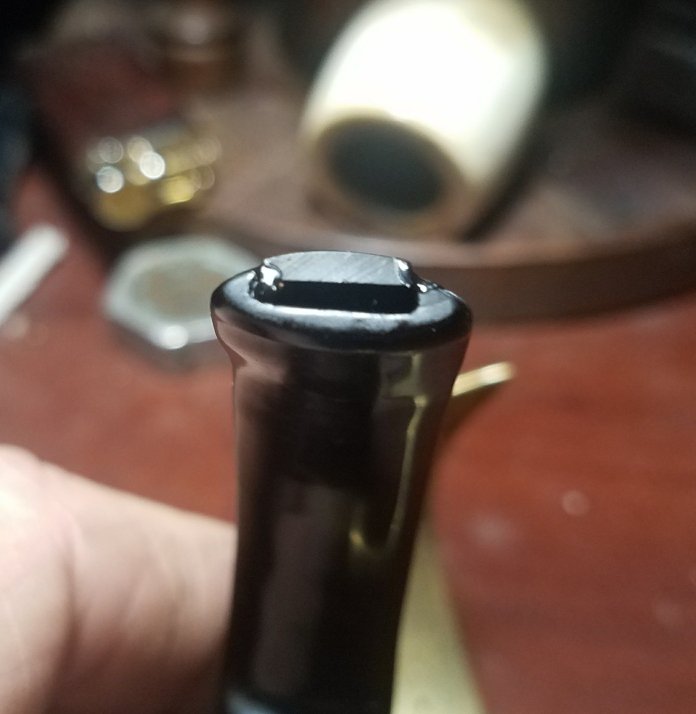
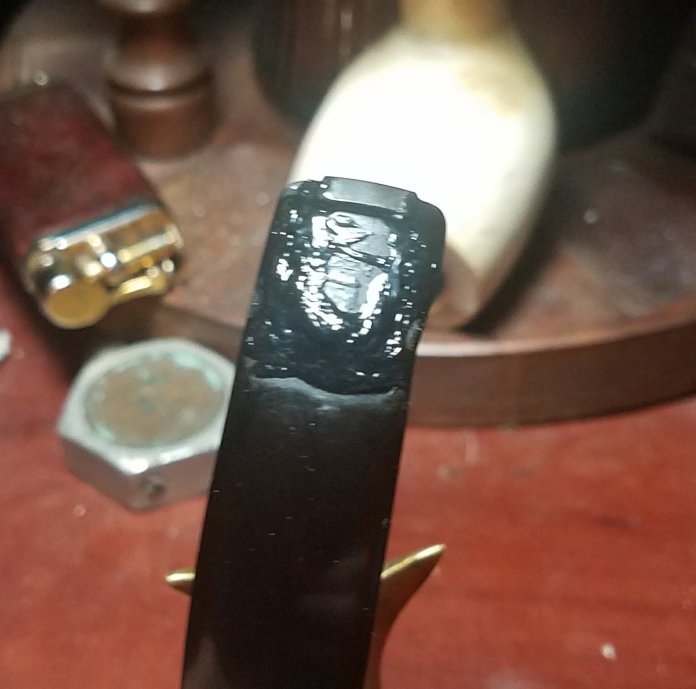
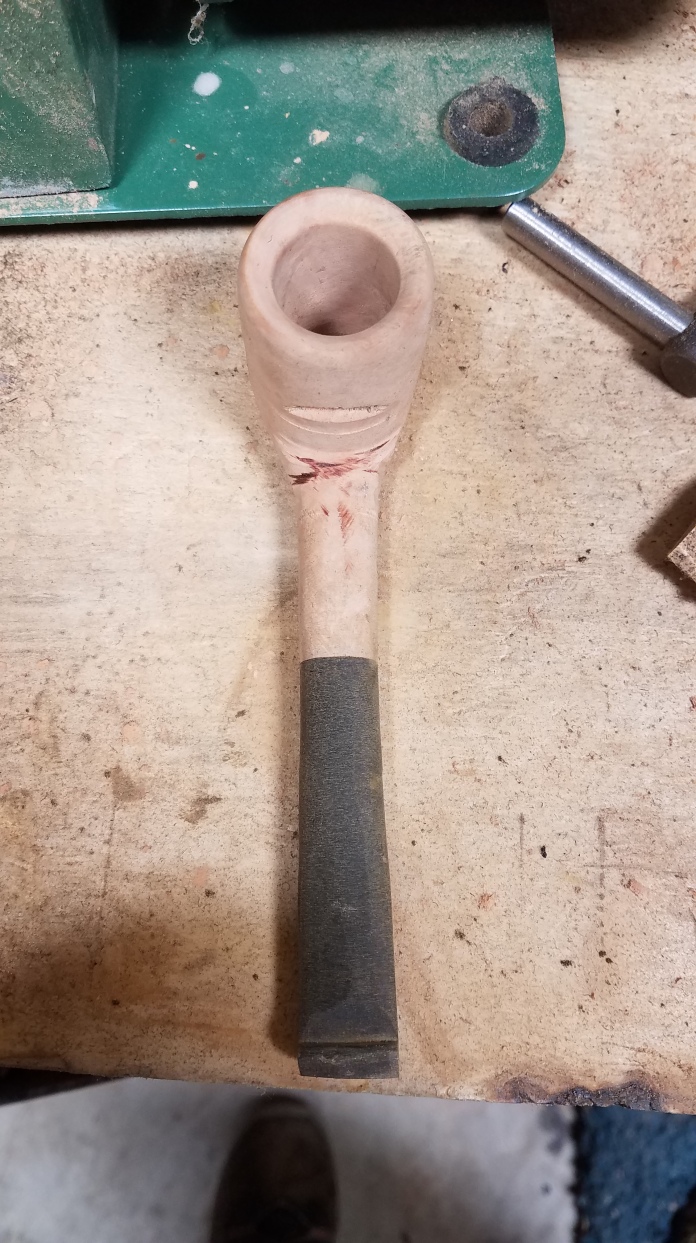
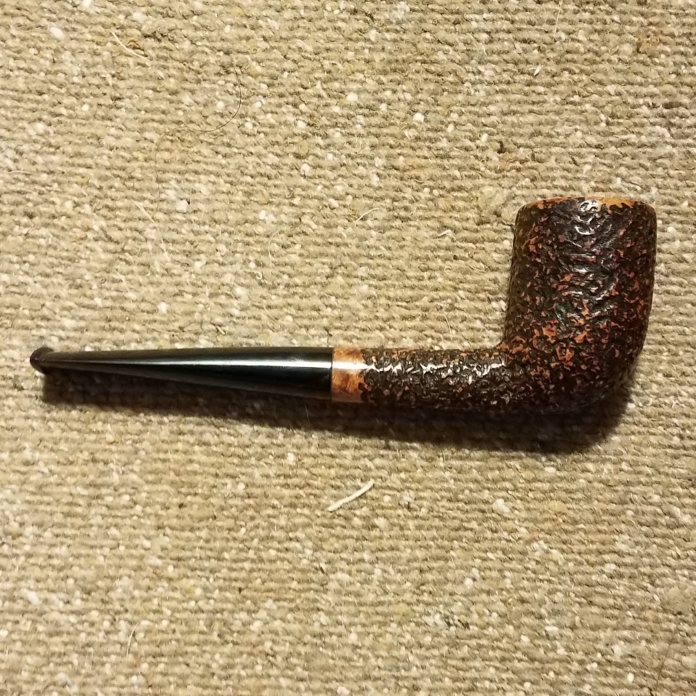
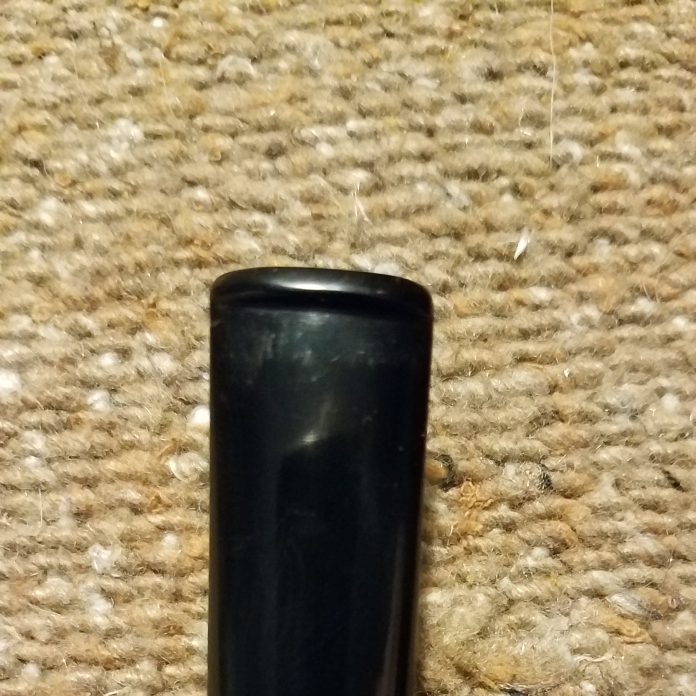
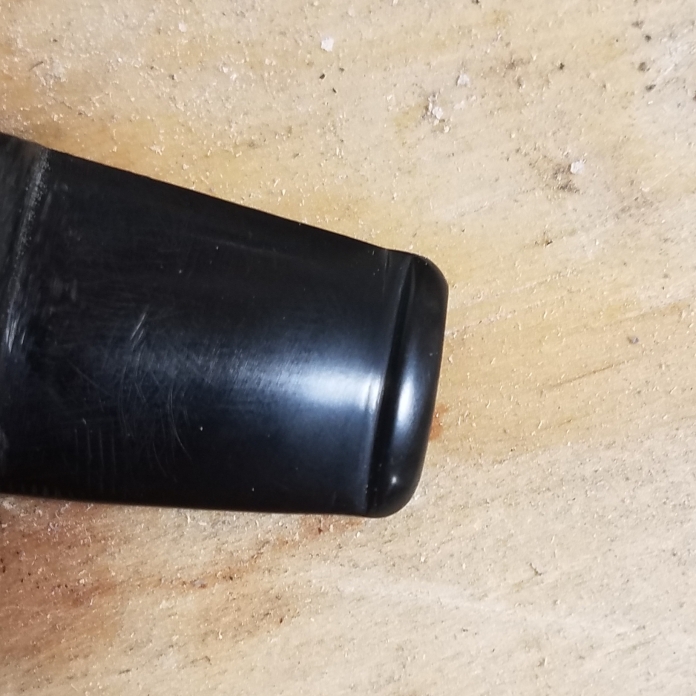
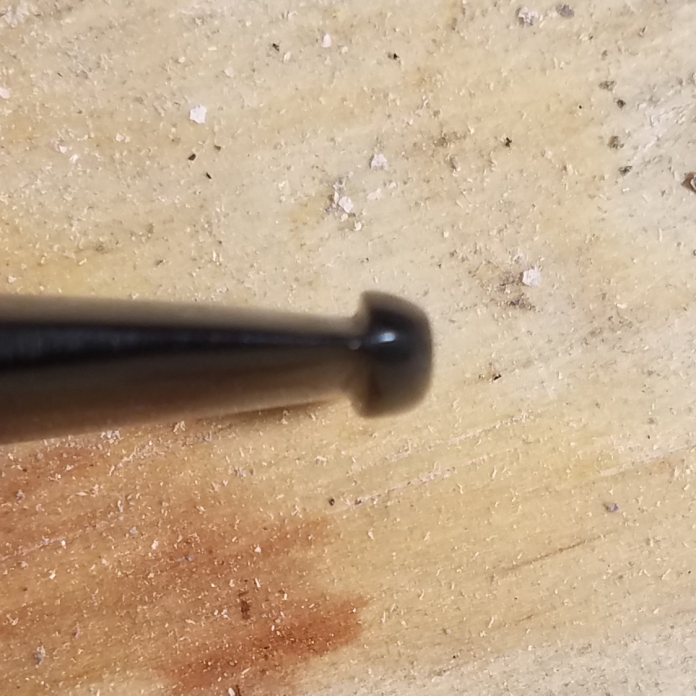
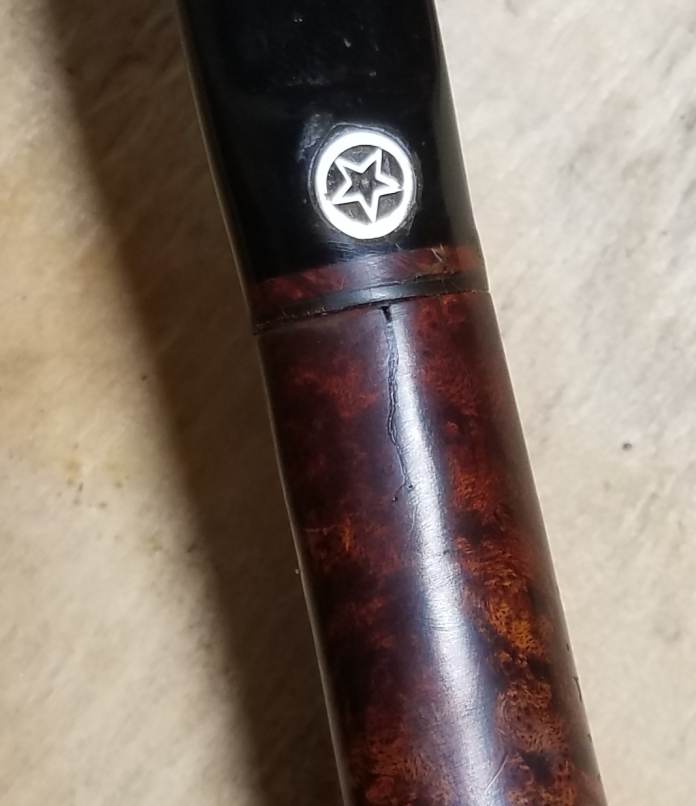
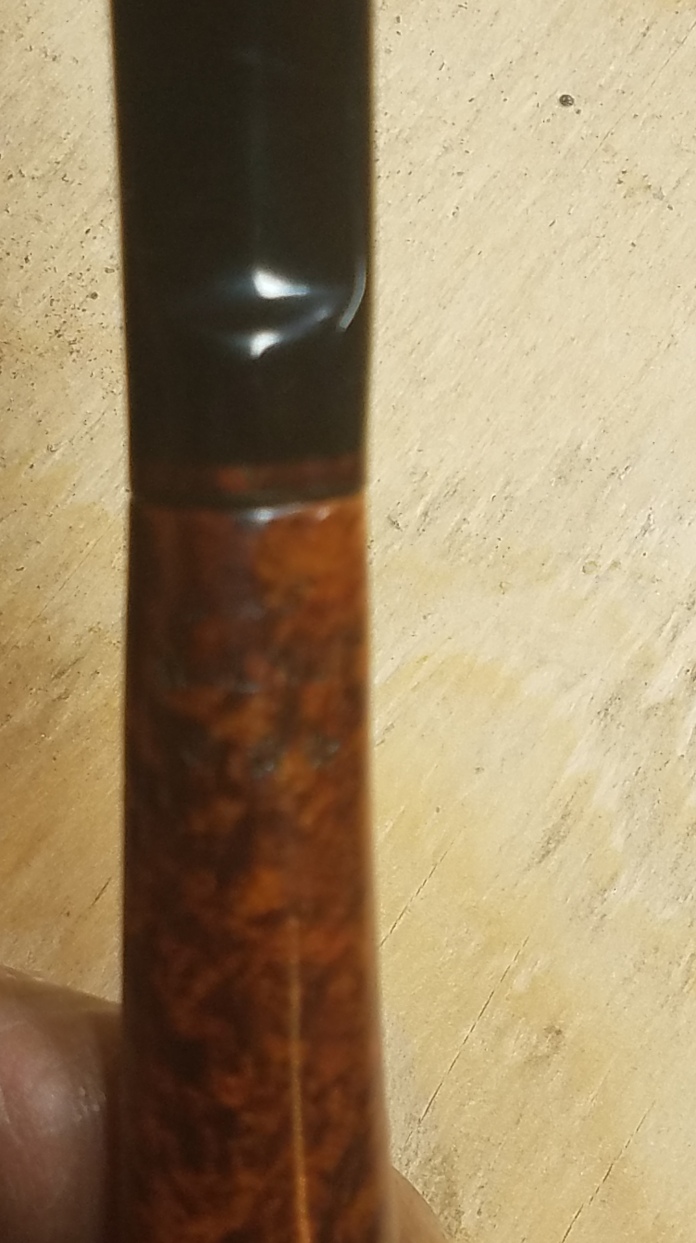
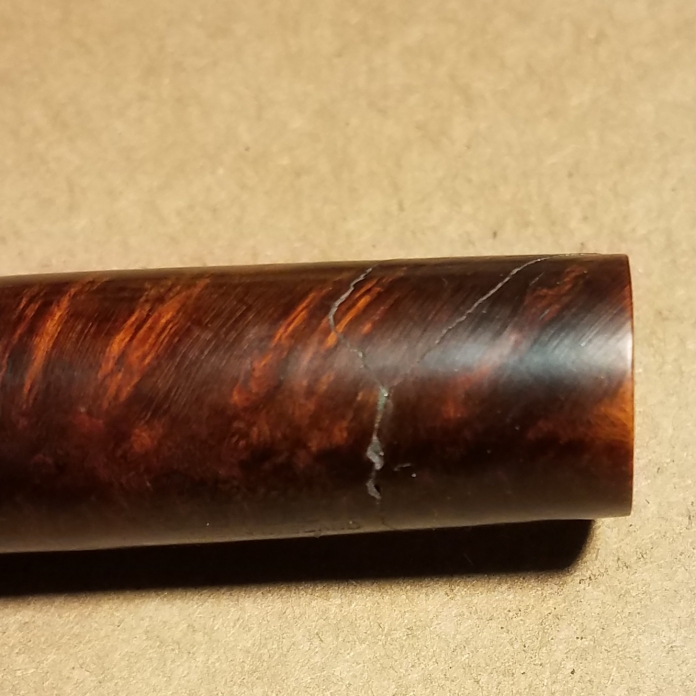
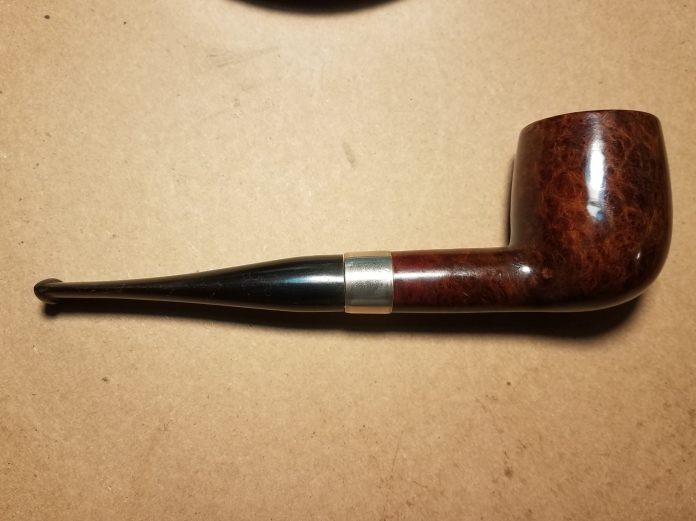
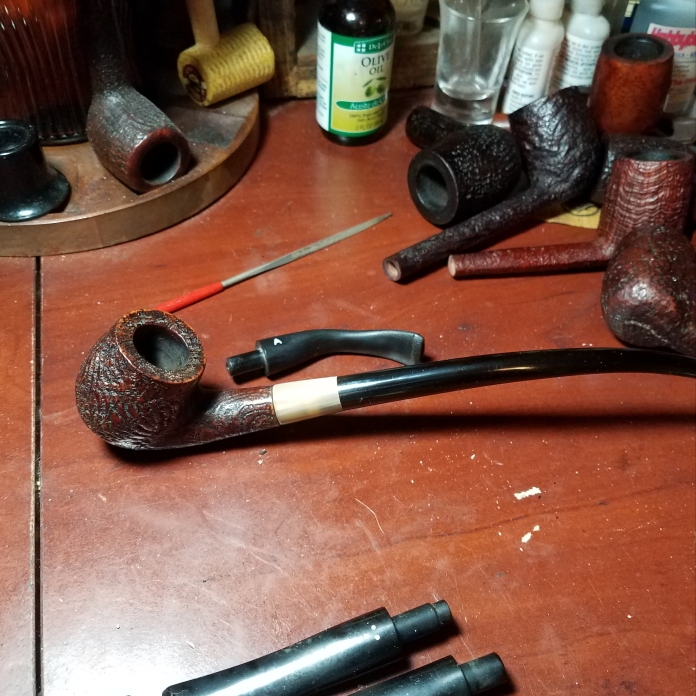
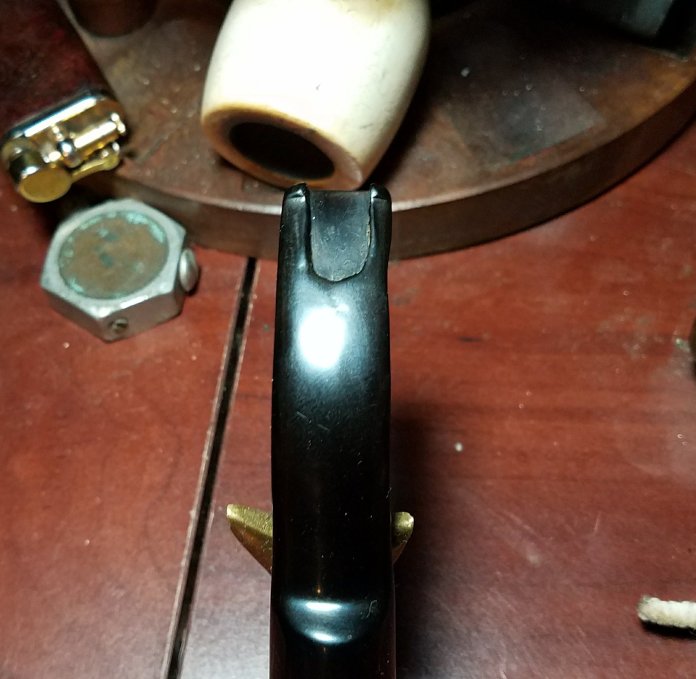
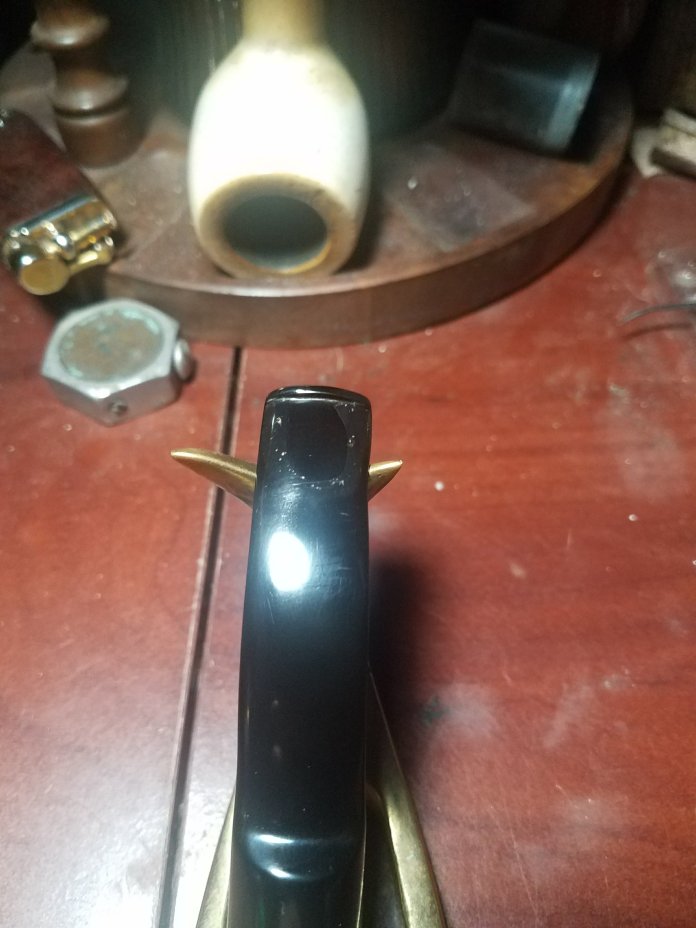
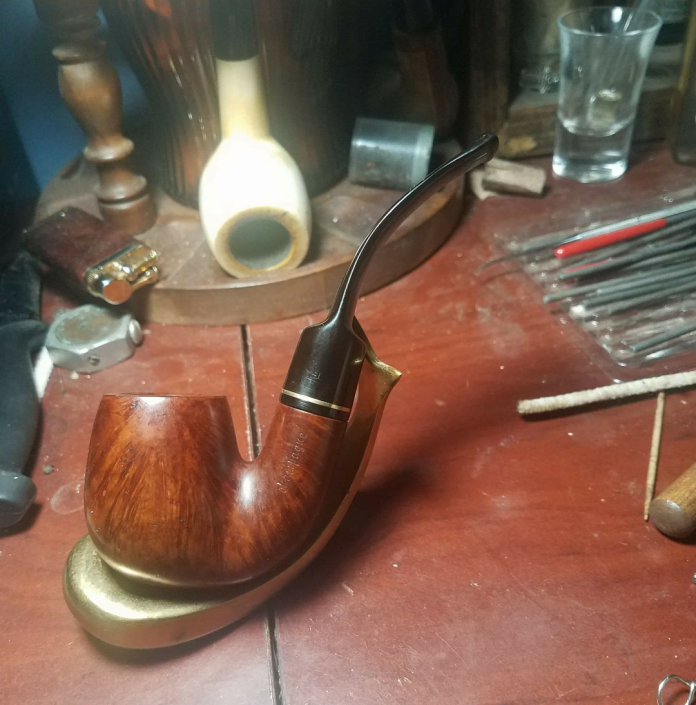
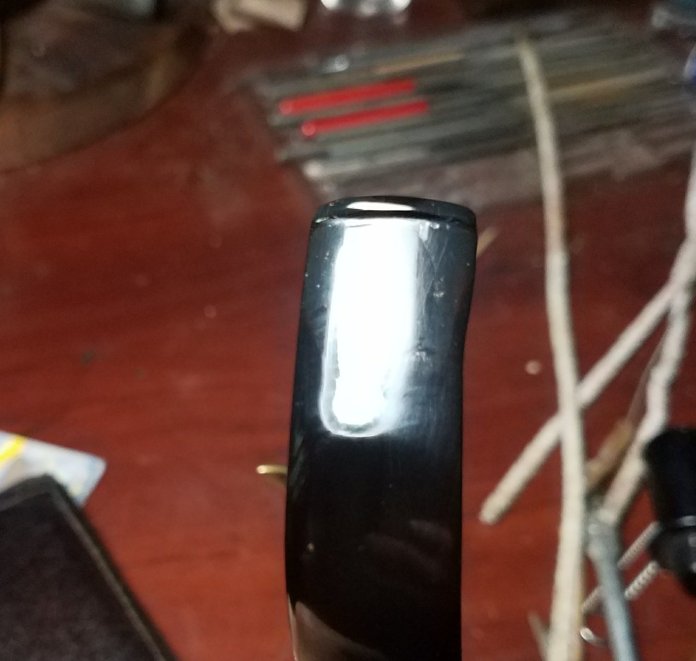
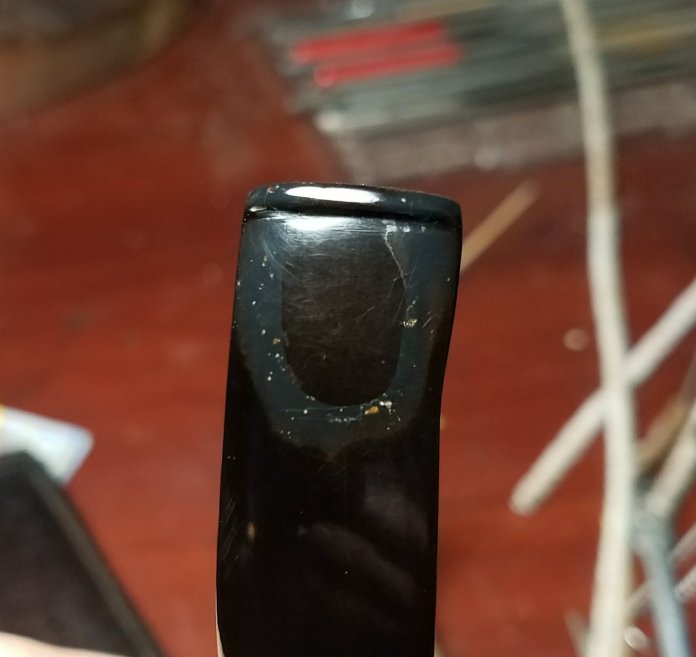
After drying, I filed and sanded and touched up the button end and some micro bubbles that always seem to pop up. More sanding and buffing and it has a smooth mirror shine. But against the light you can see the repaired area. I went back already and reworked some of the areas but I’m still not happy with the result.

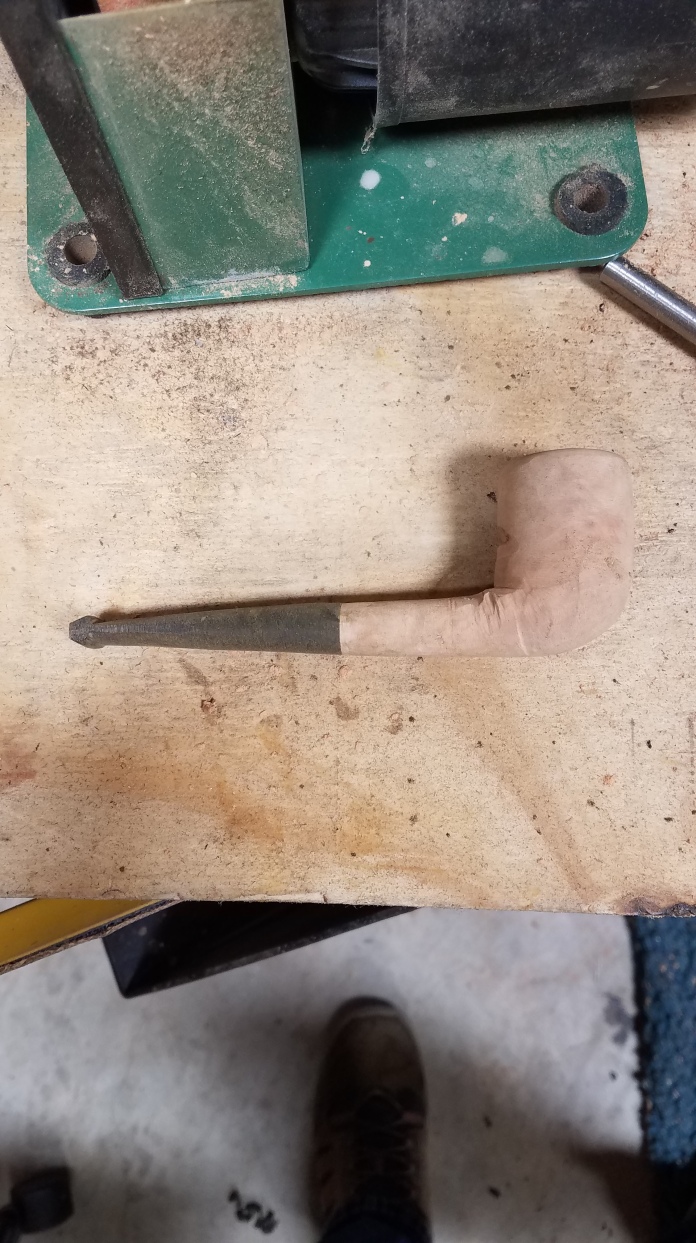
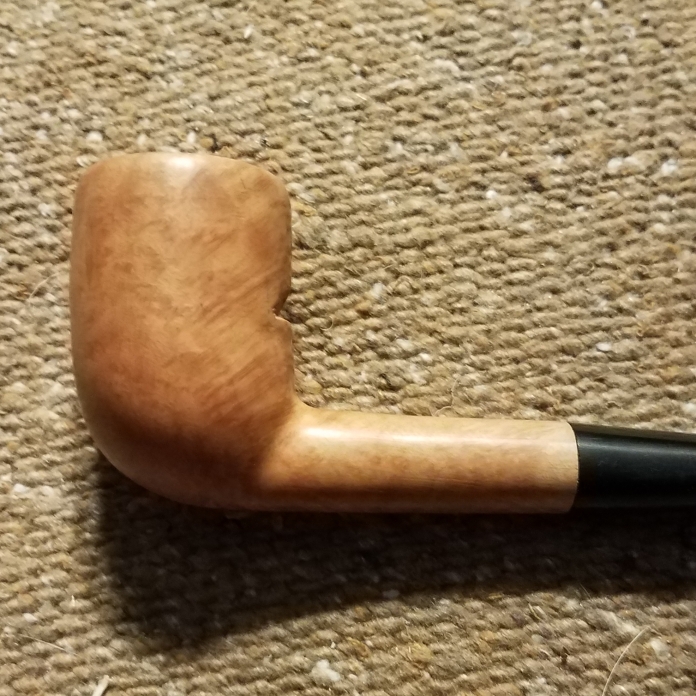
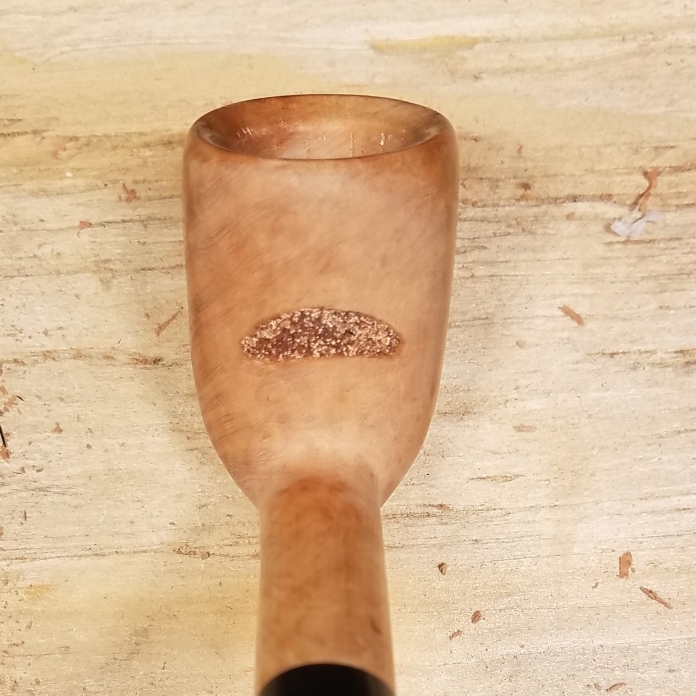
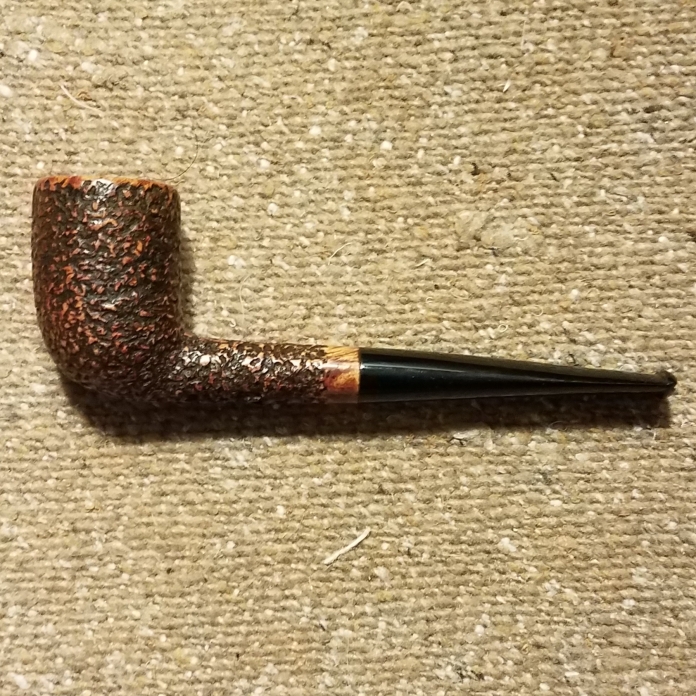
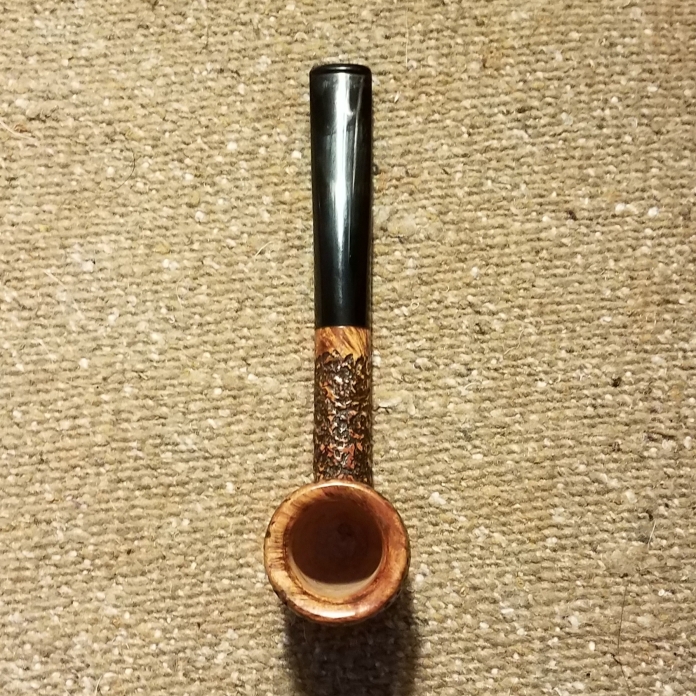
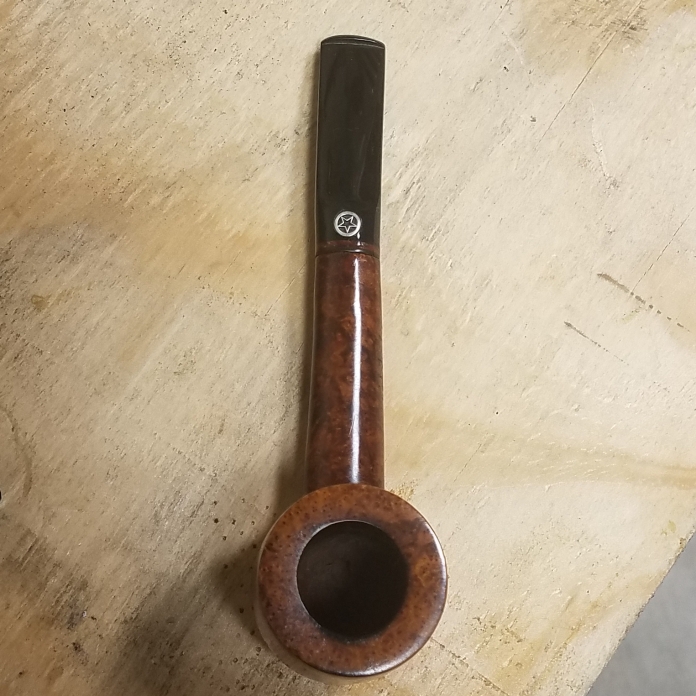
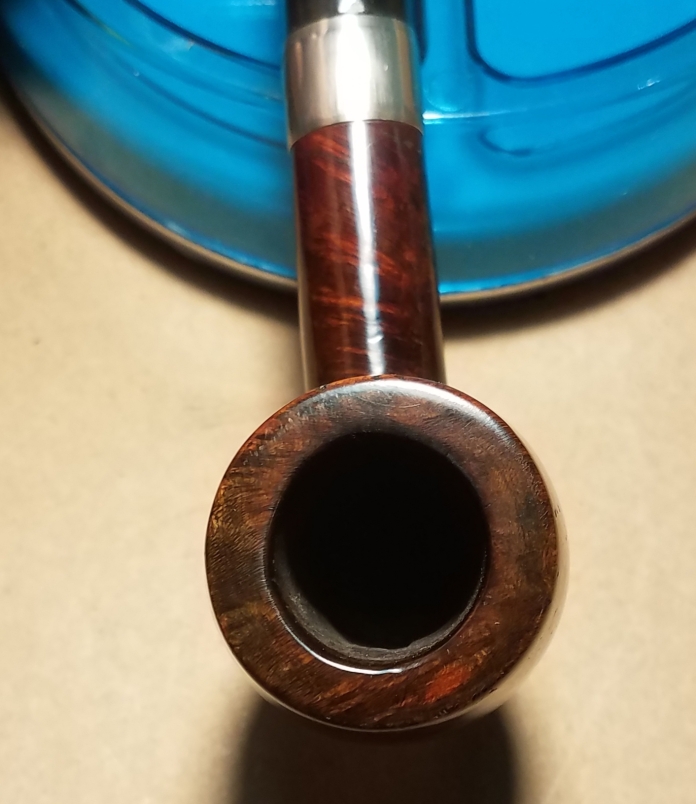
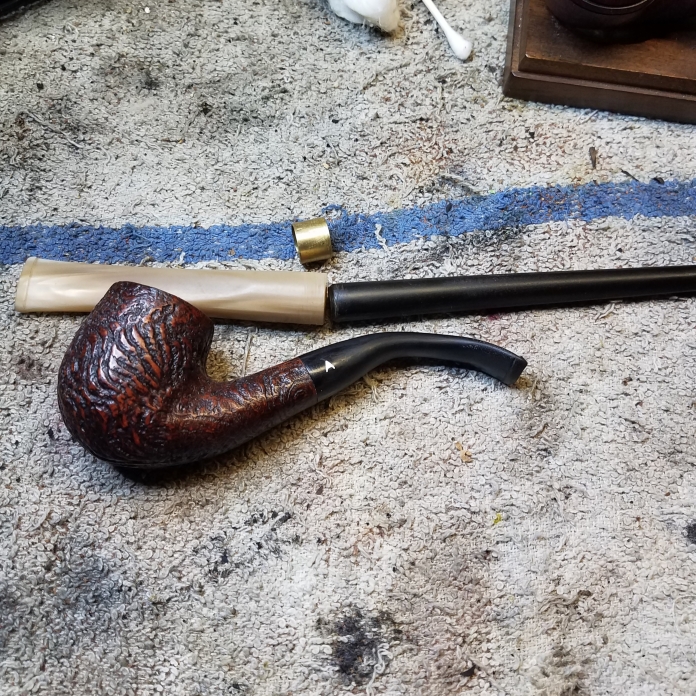
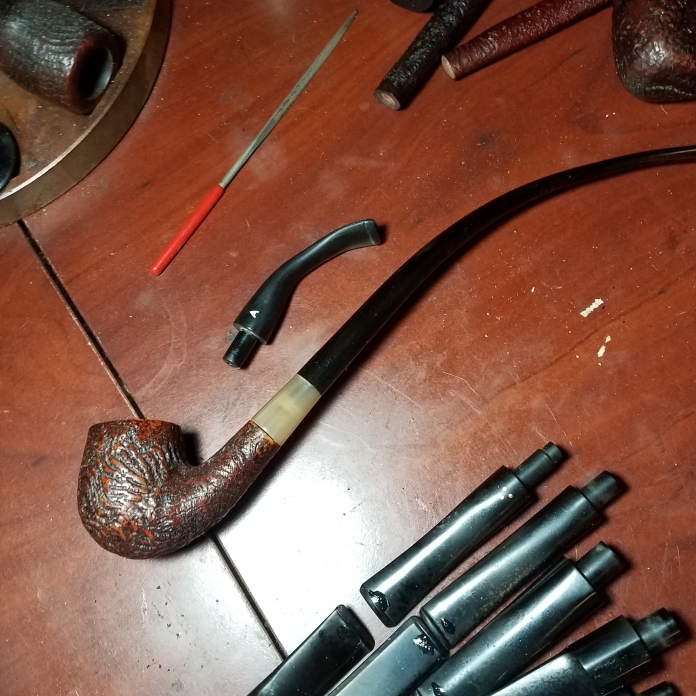
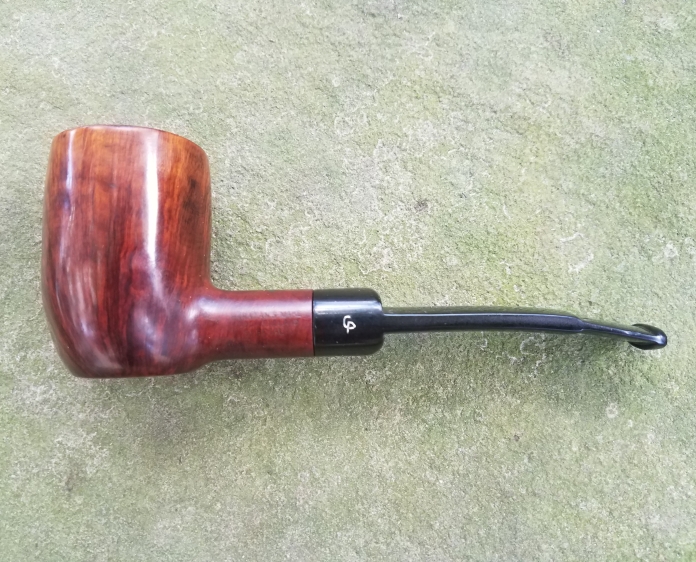
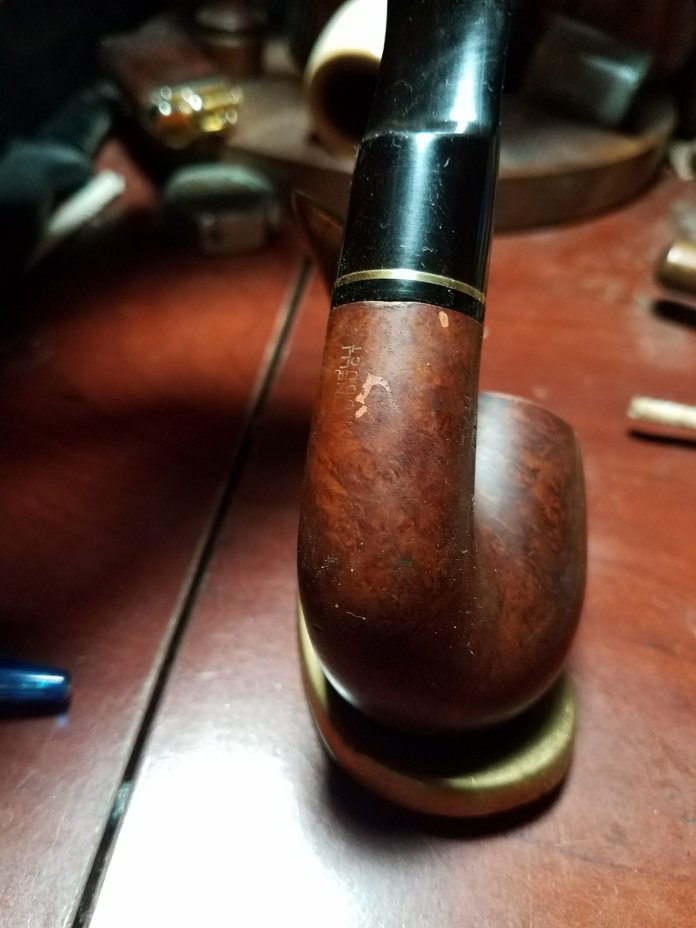
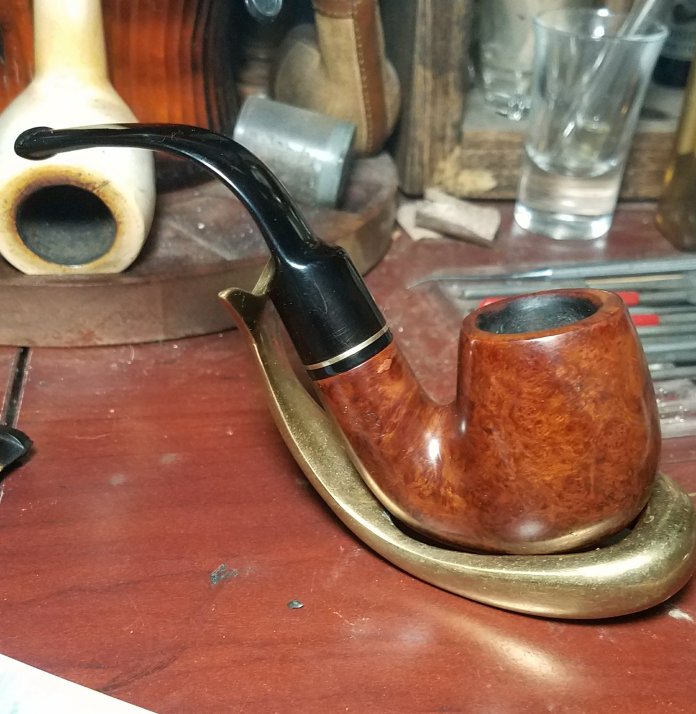
The rest of the restoration was a light bowl topping, sanding, restain and buff. There were a few putty fills I replaced with clear CA glue and Briar chips. There is a large leaf shaped lighter area on the front of the bowl.

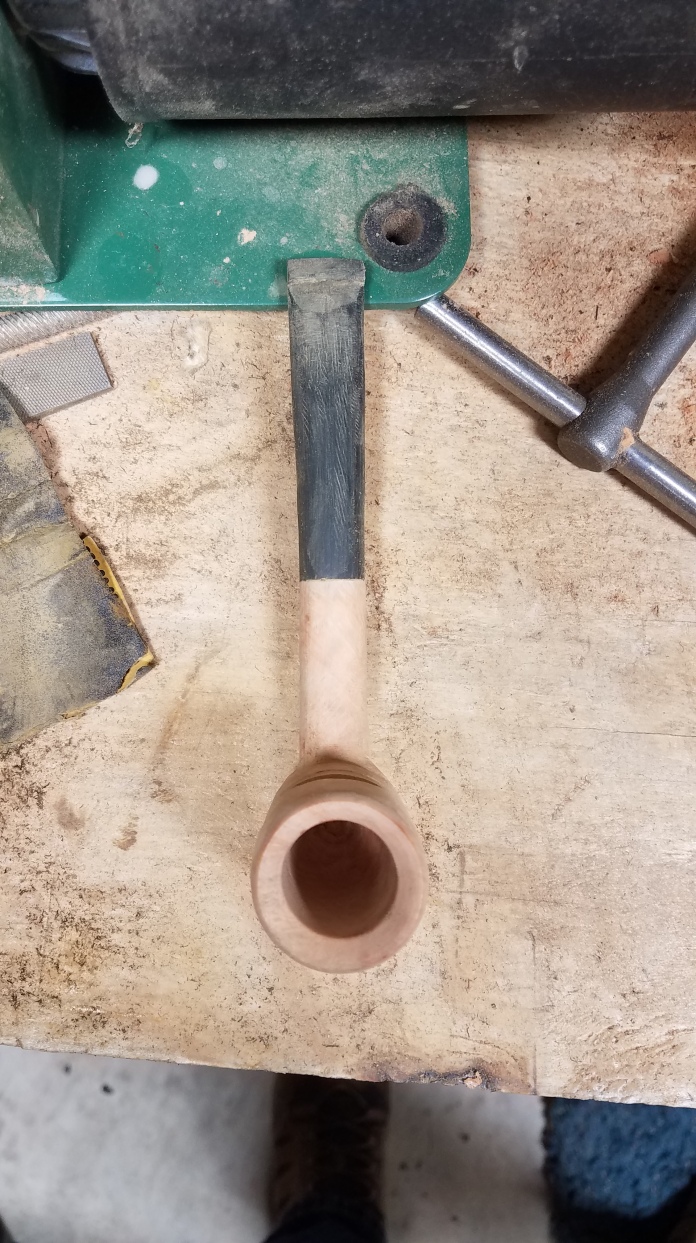
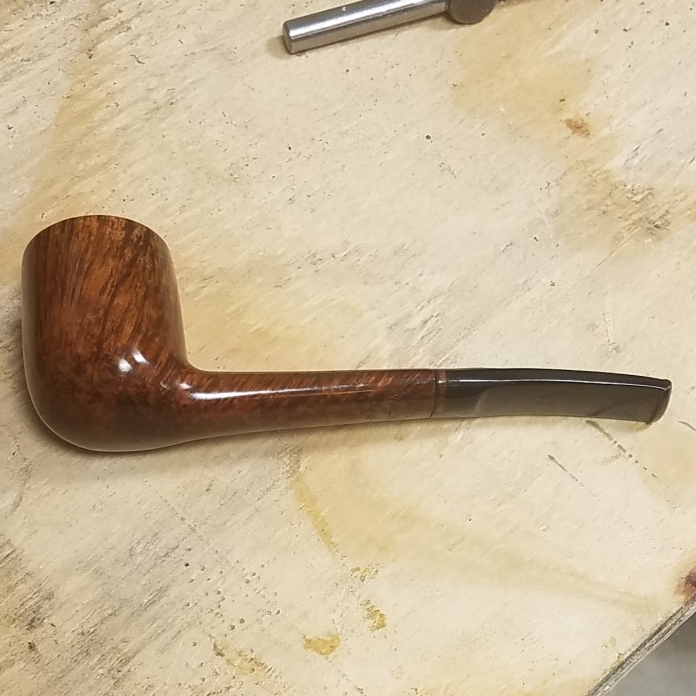
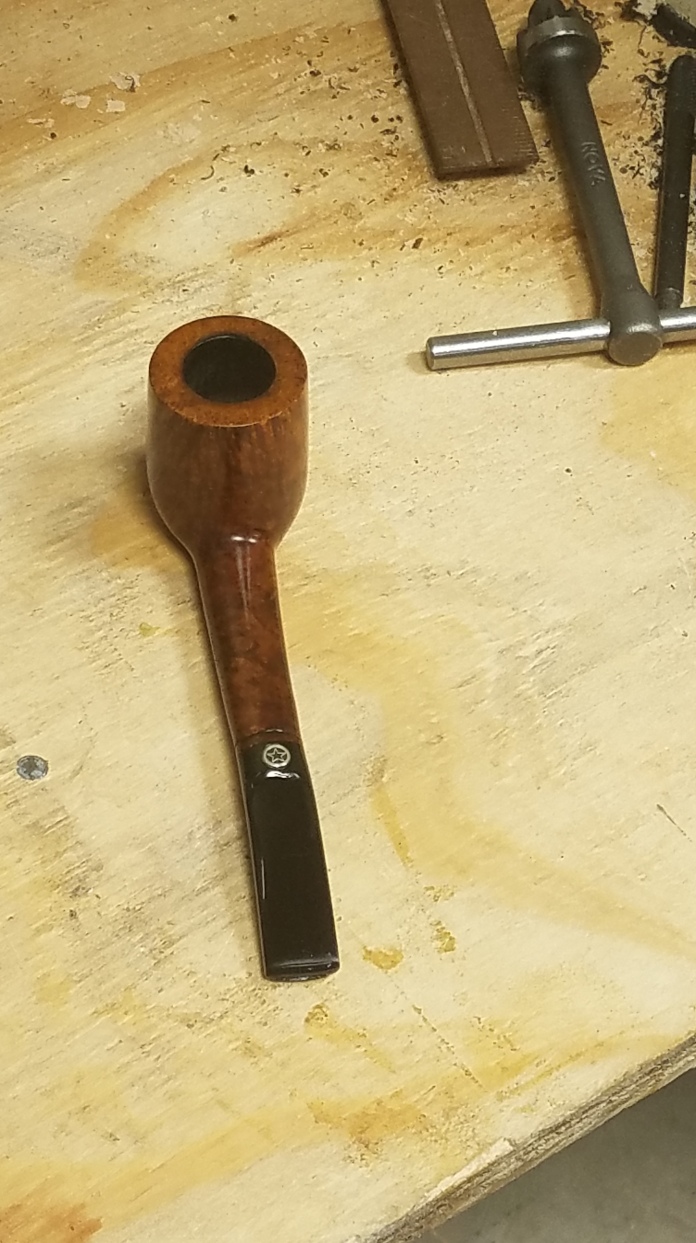
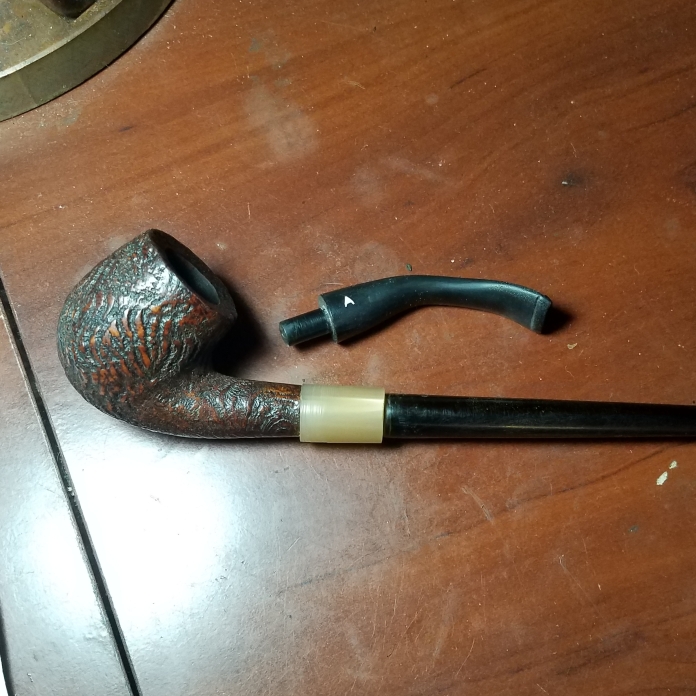
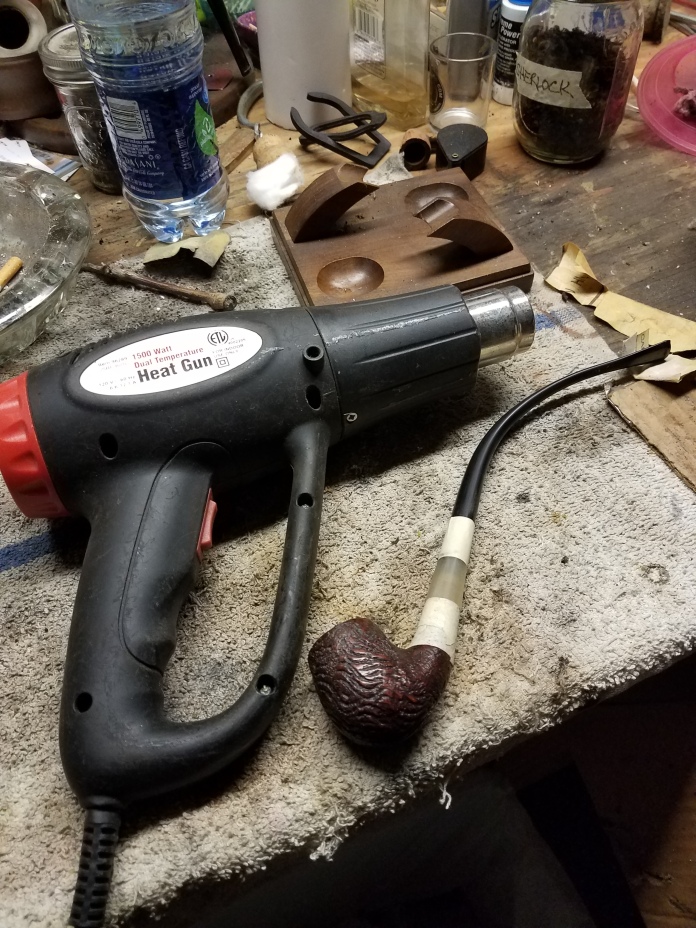
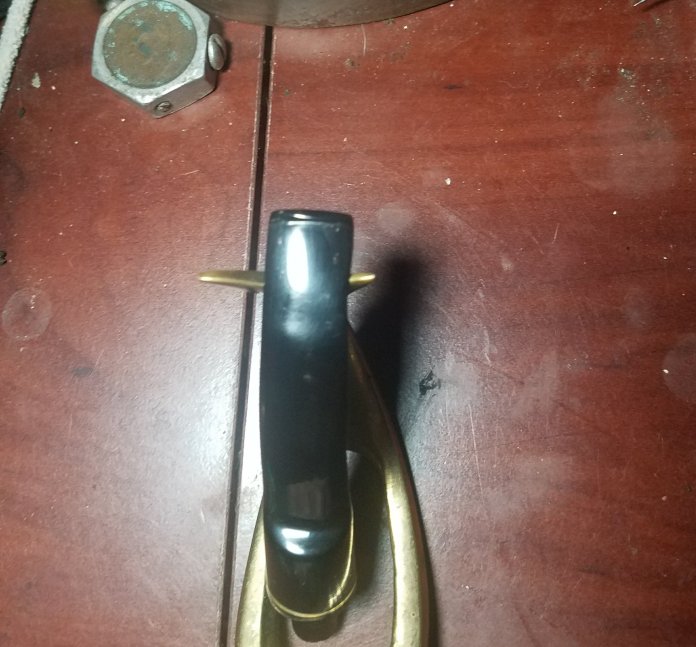
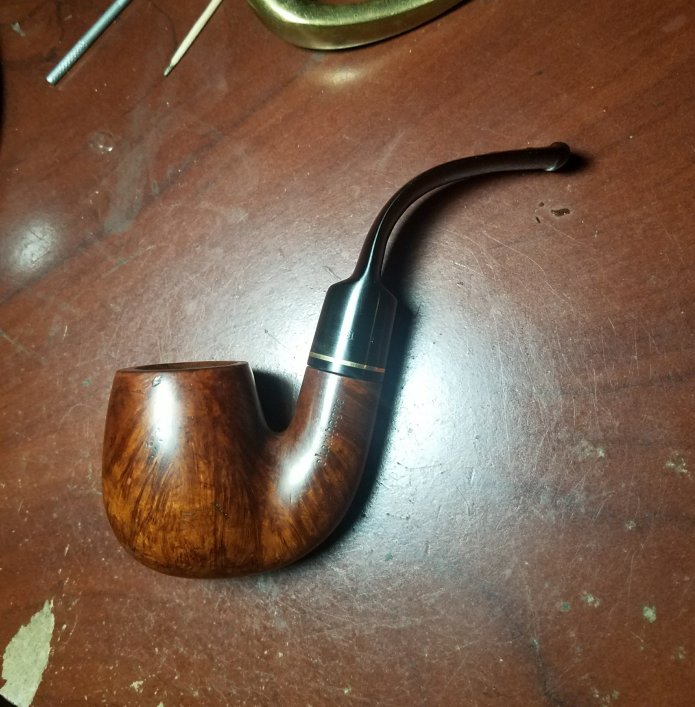
I broke the first rule of stem repair in my concentrating on my method of repair. MAKE SURE THE BEND IS CORRECT before doing all the glueing, filing, sanding and buffing. I was working on the pipe separately and didn’t notice my mistake until I assembled the pipe for buffing! Somehow the stem had straightened out way too much!

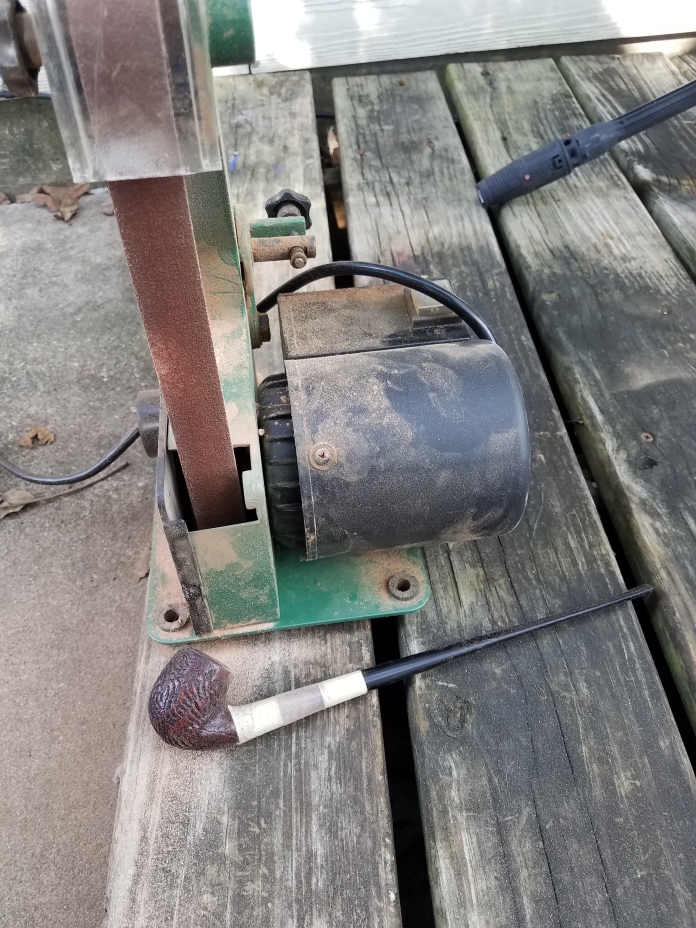
Too much heat from the heat gun will also soften the CA glue areas and destroy all your efforts at repair! I avoided that by wrapping a damp paper towel on the bit end to lessen the heat damage. With a pipe cleaner inserted, I was able to put the proper bend in the stem with no further damage to the repair area.

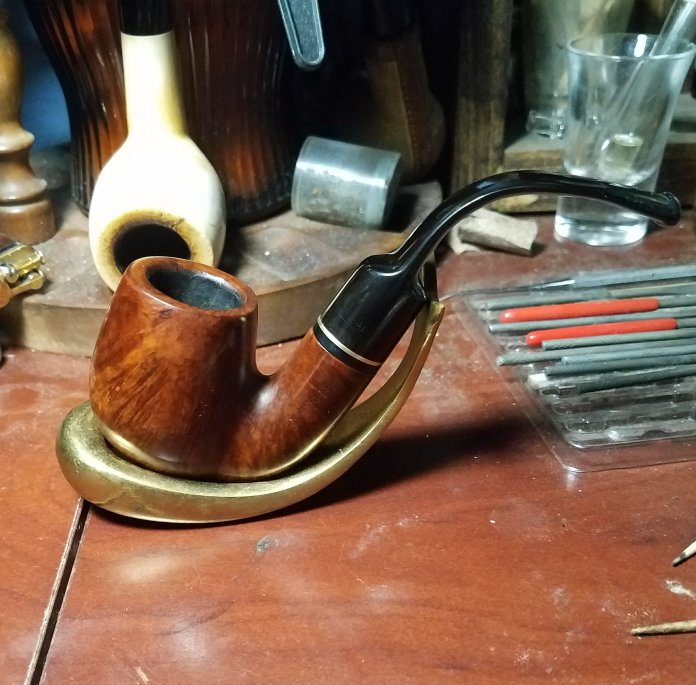
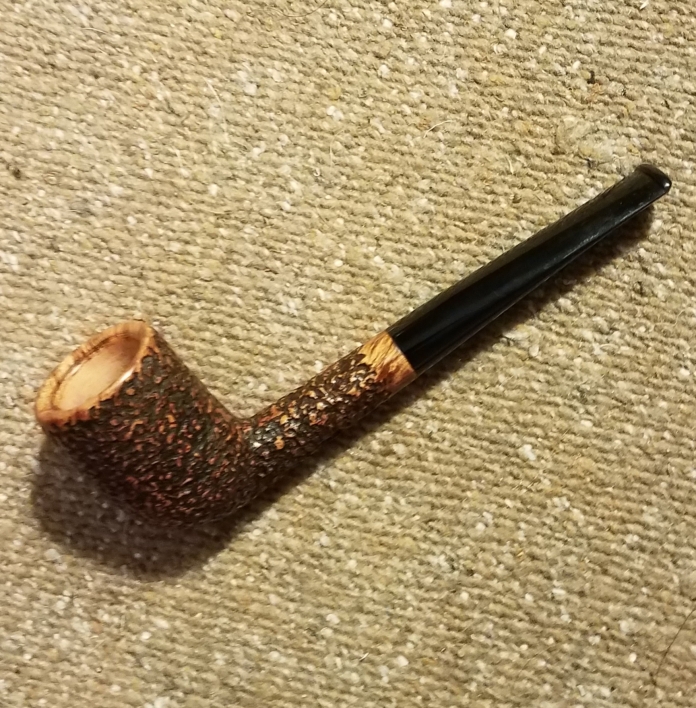
I’m done for now but I might come back and tweak the bend of the stem just a bit and rework the repaired area AGAIN. Thanks for looking, hope you enjoyed my repair approach.

Standard

Product review: Grout whiteners


20180129_041125

I use grout whitener to refresh the letter or logo on a vulcanite stem. My procedure is to get the oxidation off the stem and return it to jet black. The grooves of the stamping must be cleaned out under magnification using dental picks and probes. The job usually involves deepening the recesses with the same tools. Shake the pen for 2 minutes and apply a small amount over the area. After setting up for a minute I  use a toothpick to roll across the area and soaking up the excess liquid, leaving the grooves filled. After hardening awhile, i can buff it with carnuba wax to protect and seal the work. I prefer the Miracle grout pen over the Rustoleum brand. I find the Rustoleum is too watery.

PicsArt_01-27-09.16.56

20170409_154154.jpg

Thanks for looking!

Standard

Reworking a Pete 999

Yet another in my project basket was a beautiful Peterson Dublin and London 999 bent Rhodesian with factory P-lip stem. This pipe dates no later than 1970 when the London factory closed. It was a beautiful specimen with gorgeous grain, the stem was jet black with only minor tooth dents. I wondered why this pipe was relegated to the junk box. The rim was in good shape, minimal char in the bowl. There was some surface cracks running almost the entire length of the stummel!  

I drilled a hole to stop the cracks from spreading and filled the cracks with clear superglue. I sanded the glue off and was left with long thin black lines.

I applied black stain to the warmed up briar and flamed it to set in. The repair line is still visible.

The next day I wiped it down with alcohol and buffed with green Tripoli to take most of it off. Then I did the same with dark brown and a third time with yellow to really make it pop. 

I filled the stem depressions with black superglue when heating wouldn’t lift them. I filed and sanded them smooth, restored the white P and ran the pipe through all the buffing wheels for maximum shine. The crack repairs are barely noticeable if you look hard enough. Ready for another 50 years of service. Thanks for looking!

Standard

Restoring an 1898 Hall & Fitzgerald horn stem pipe

Another project pulled from my box, this horn stem pipe had some worm damage on the oval horn which was STUCK in the shank. It is a Hall & Fitzgerald hallmarked Birmingham 1898 on some beautiful scrollwork on the silver. The pipe was dry (might of been sitting in a drawer for 100 years), there was slight lava buildup on the rim and little cake in the bowl. The top of the stem near the bit had a large round hole but had an inner layer that was not bitten through. The worm holes on the bend area of the stem did not get into the airway. Plus some chatter on the bottom of the bit area.

I used the heat gun on low, rotating the pipe about 8″ above it. Slowly warmed up the tar gunk inside and after several minutes, tried unscrewing it. Repeated this several times until it finally broke free.

Amber superglue filled the holes and when filed and sanded, are as smooth as glass. The pics show the holes visible at certain angles and the camera makes them look far worse than they are.


I removed the lava from the rim, cleaned the internals and wiped the bowl down with olive oil to restore the rich luster to the briar. A pass through all the buffing wheels and it looks near new. Definitely doesn’t look 119! Thanks for looking.

Standard

Reworking a Pete 980 stubby bulldog

With a lull in customers, I had time to dig in my box of projects. This was in a Ziploc bag because the tenon had snapped off inside the shank. At first glance I assumed it was a simple tenon replacement on an old Peterson bulldog. Well you know what happens when you assume something! This was marked Peterson over Dublin with only the shape number 980 on the other side of the shank. It has the faux hallmarks on the nickel band. It measures 5″ long with a saddle stem with P-lip bit. 

After cleaning the stummel with alcohol to see what I was getting into, I discovered several small cracks on the briar and tooth dents on the bit end of the oxidized P-lip stem. 

I cleaned the rim and did an alcohol/cotton ball soak while I worked on the stem. After removing the oxidation, I filled the dents with black CA glue and filed the repairs smooth. I also had to build up the bottom of the bit as it had worn down. 

I used a micro drill bit to stop the cracks from spreading. I applied clear CA glue with a toothpick along the cracks. After sanding smooth, I used a dark brown stain on the briar which had been warmed up with my heat gun. A wipe down with an alcohol soaked pad, and run through all the buffing wheels to get this short beauty back in service! 

Standard