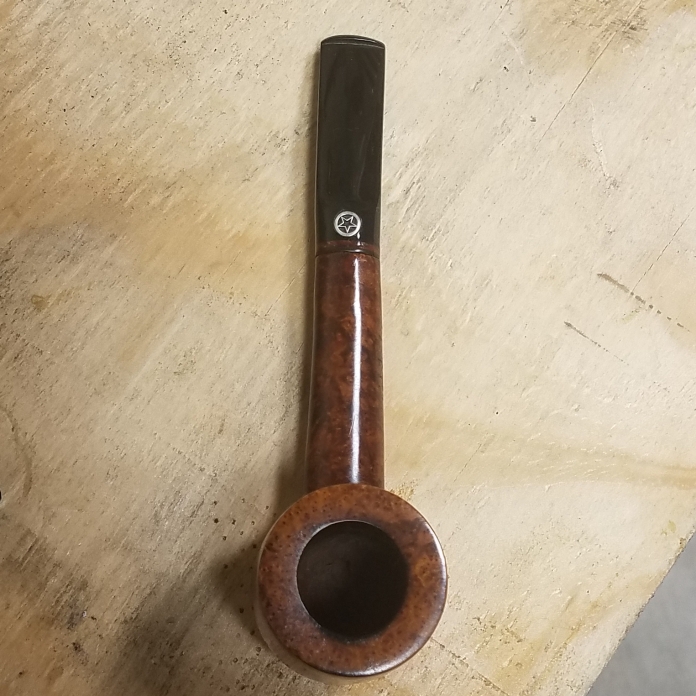
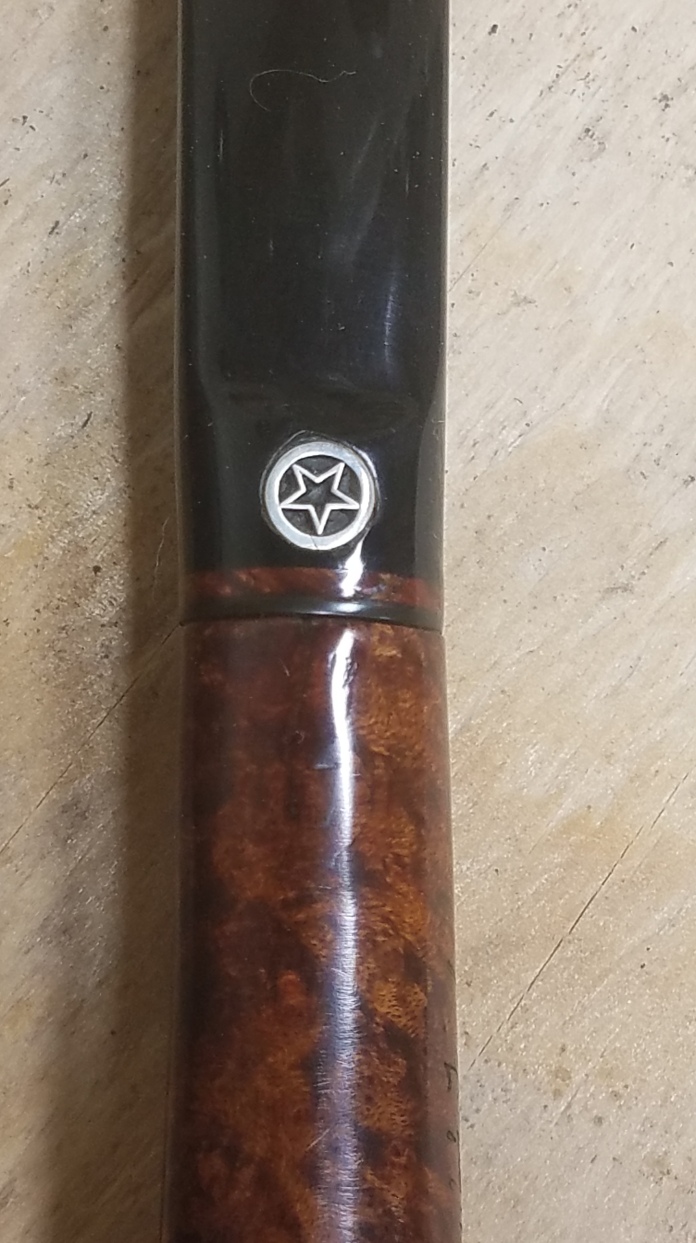
I got in a Tinsky pipe with a cracked oval shank. The top and bottom of the shank was too thin to survive pulling the stem out warm I guess. Instead of banding it, I decided to put a brass sleeve inside the shank. A band would have covered a lot of the nomenclature.
Here’s where the restoration went off the rails. I wanted to glue the shank cracks before I started with the tube insertion. I put the tip of the tenon in the shank and gave it a slight flex to open the crack a hair more while applying some 10 thin glue from Stewmac. This has supposedly a 5 second dry time. Needless to say it froze the tip of the tenon in the shank while sealing the cracks on top and bottom.
So, I just created a whole new batch of work for myself!
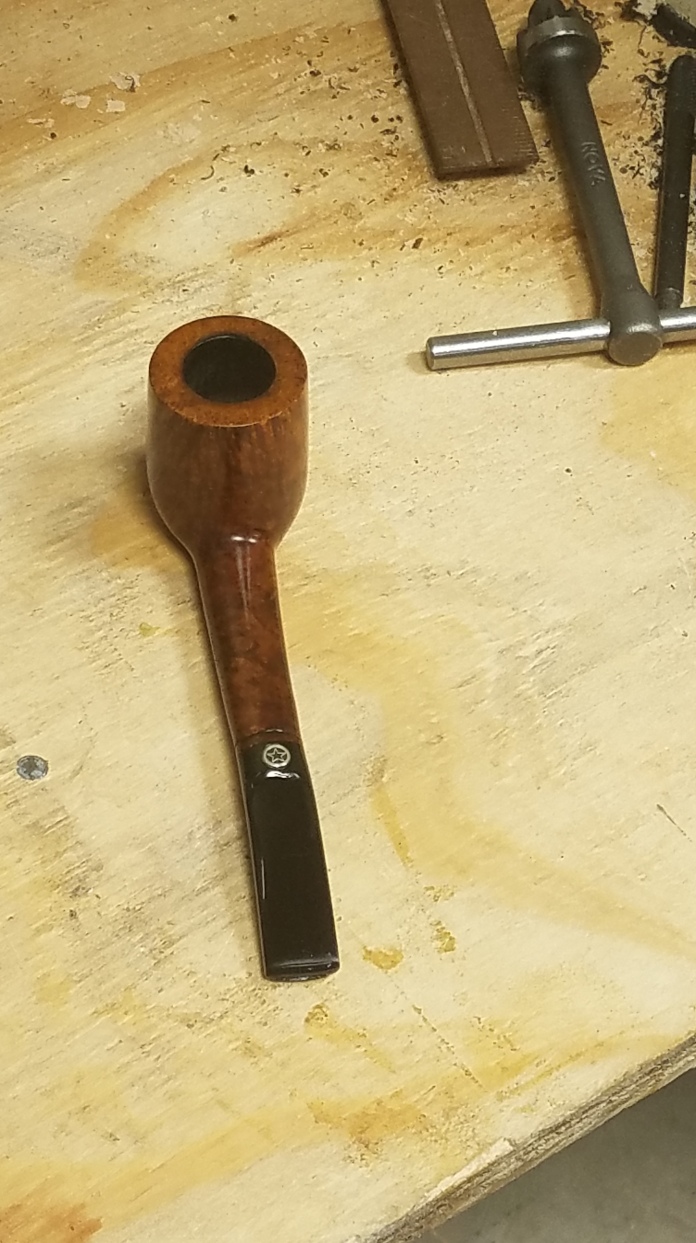
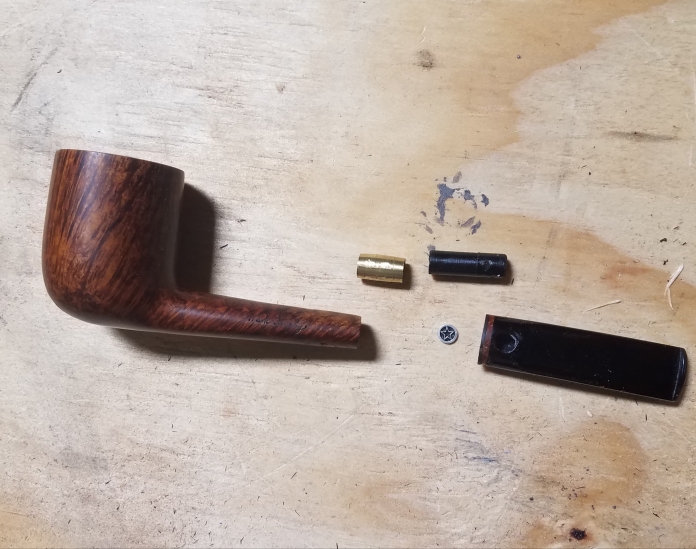
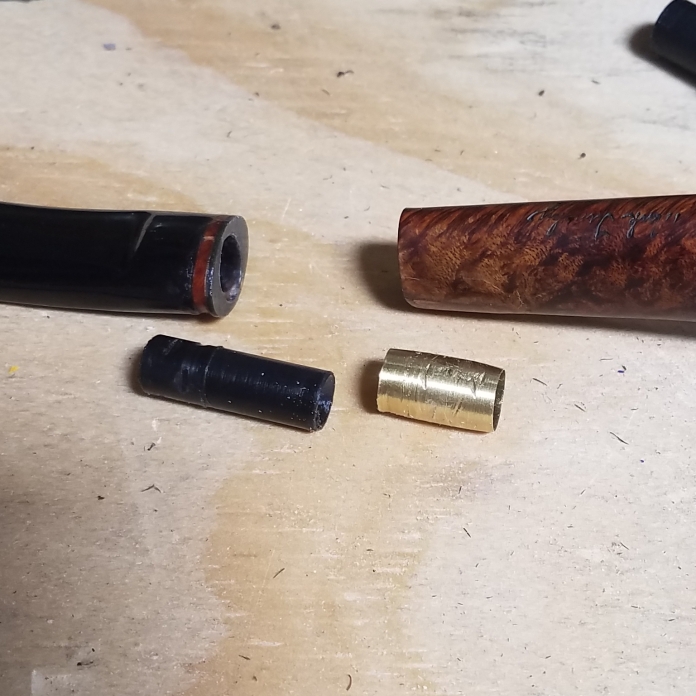
Having to cut off the tenon resulted in a new tenon needing to be put in. I hand drilled the old tenon pieces with progressive sizes of chucking reamers in the stem and shank after cutting them flush. I put a piece of brass tubing on a dowel, chucked it in my lathe and reduced the outside diameter to wafer thin with sandpaper. Turning to the stem, while reaming it larger, the star logo fell out. I turned down a piece of delrin with the tenon turning tool to fit in the tube. Then I flipped it over and turned down the side going in the stem. I had to make a dozen attempts before I got both ends sized correctly. Various mishaps made me do it over and over. I funneled both ends of the tenon with the countersink tool.
Now was time to assemble everything with G Flex 655 epoxy, which takes 24 hours to cure like steel. I roughed up the stem side of the tenon and inside the stem with a dremel bit for the epoxy to physically lock together. I applied some epoxy inside the shank and the outside of the brass tubing which I CAREFULLY inserted into the shank. I then applied some epoxy inside the stem and put the tenon in the shank, stem on the tenon and wiggled it around for a tight fit. I also glued the star back in at the same time. Then I taped it up and let it sit overnight.

After removing the tape, the stem was slightly off center left to right. Enough that I had to massage the fit with sandpaper and touchup the stain.
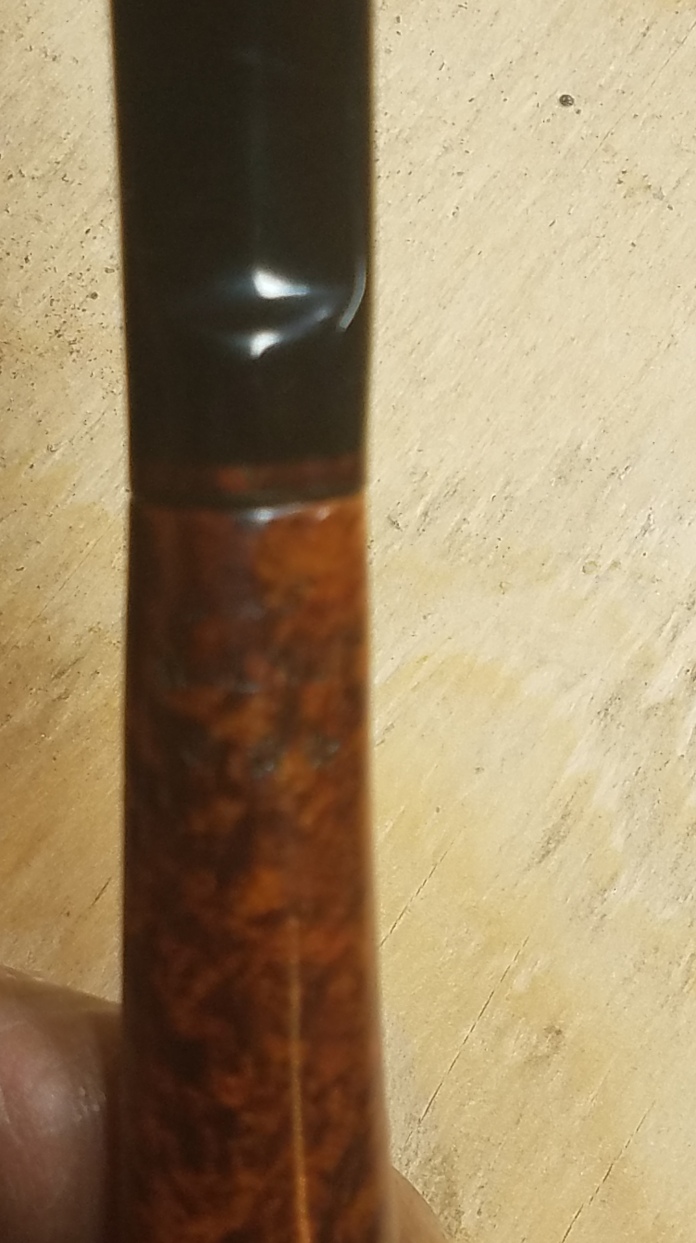
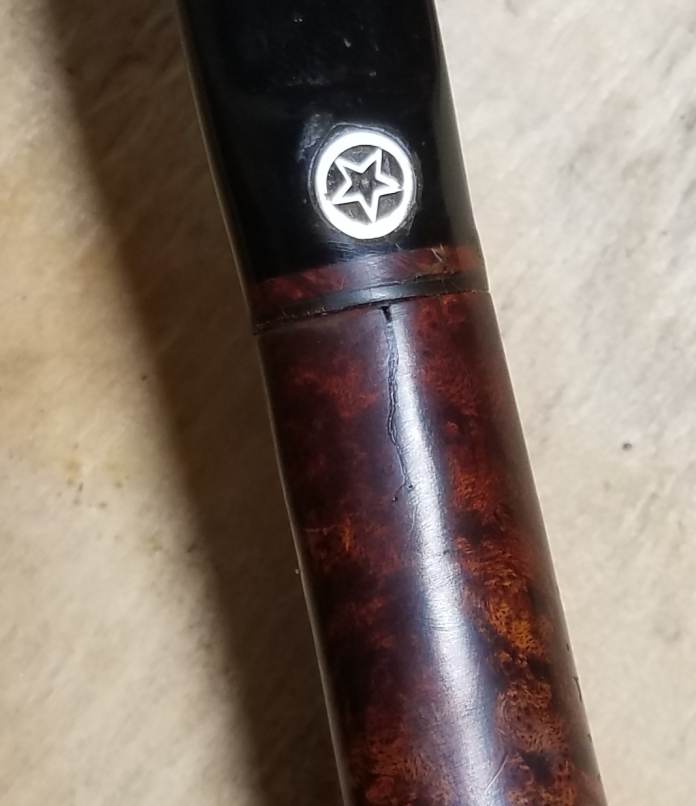
I then saw there was still some crack visible and the slightest nick on the mortise.
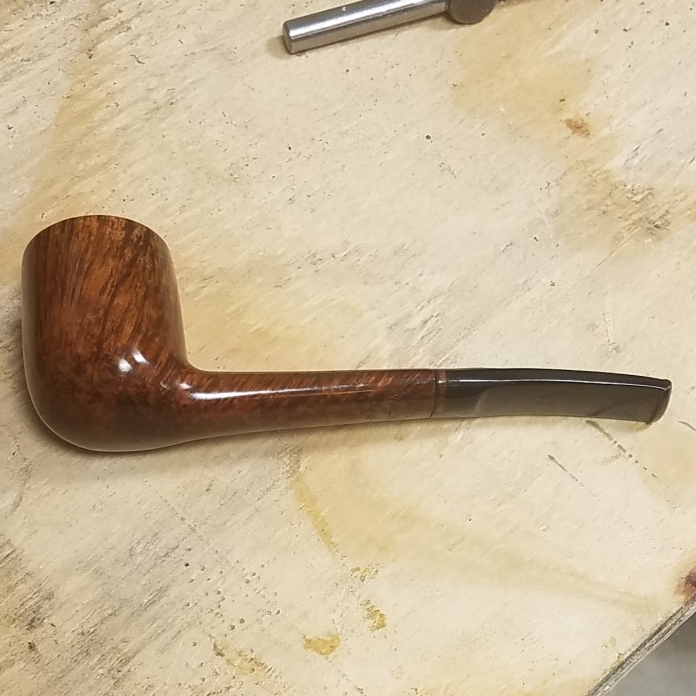
I reapplied glue sparingly and sanded down when dry. Another stain touchup and a run through the buffing wheels. After an intense prolonged battle, I won! The cracks are NOT visible and the tenon fits sweetly in the shank! The pipe is ready for service without a band to change the look of it. If it hadn’t of been for my slip up with the glue, it would have been a lot easier!