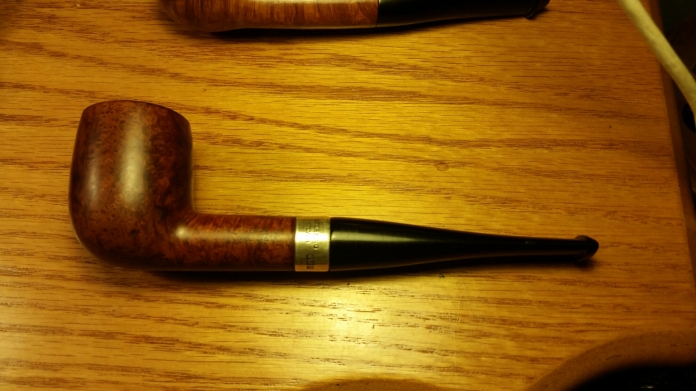
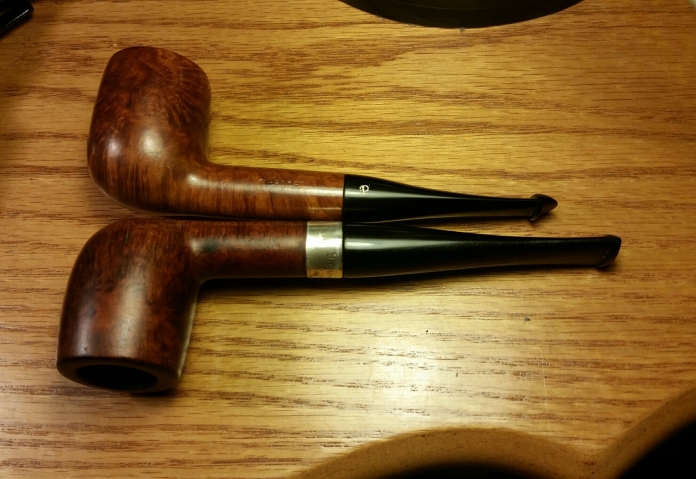
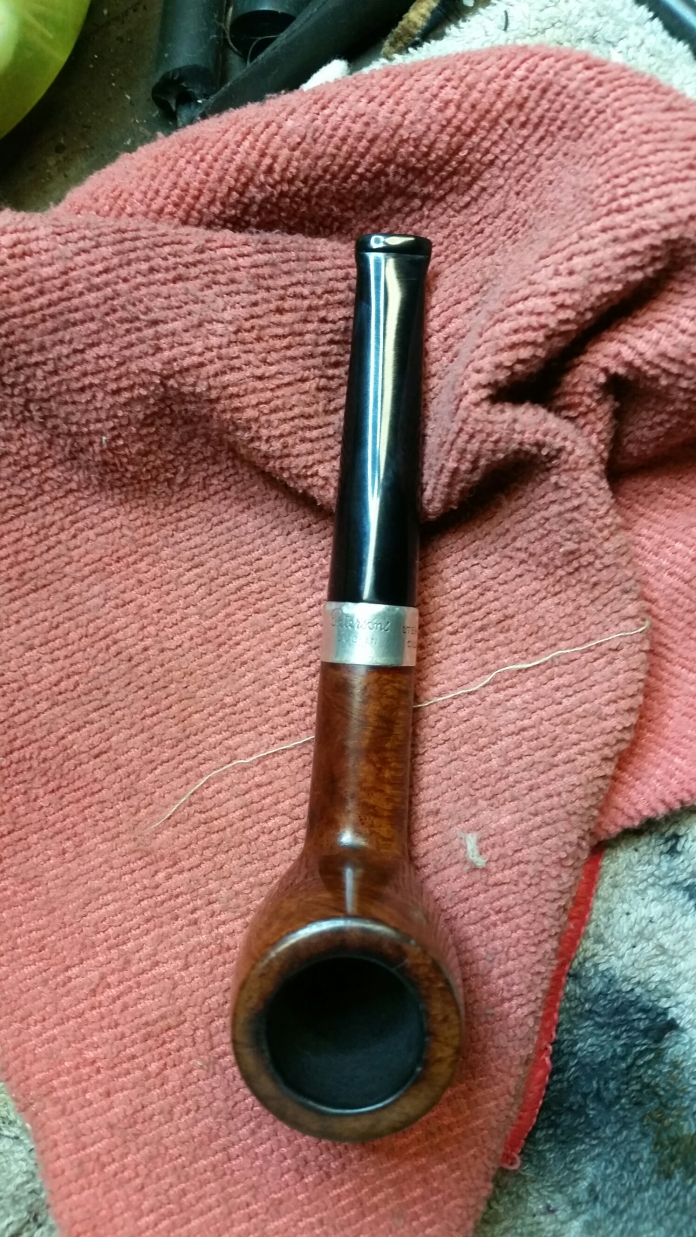
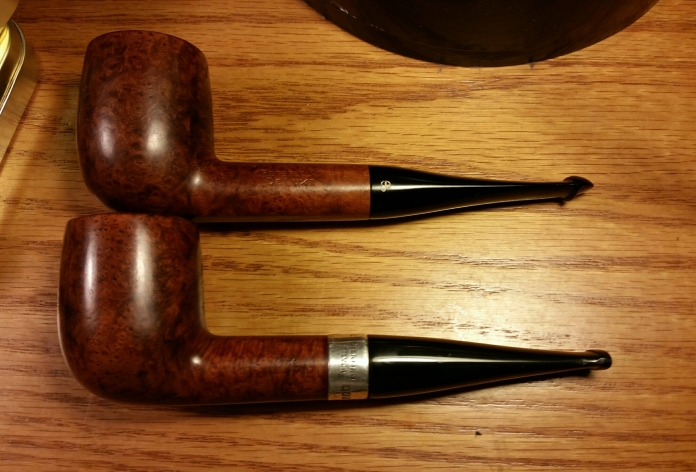
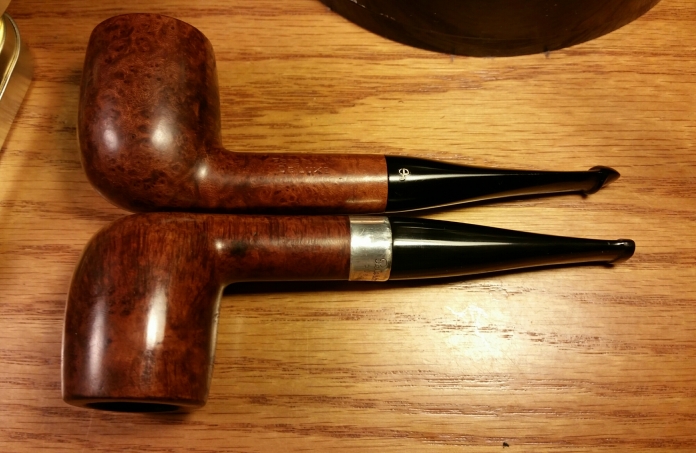
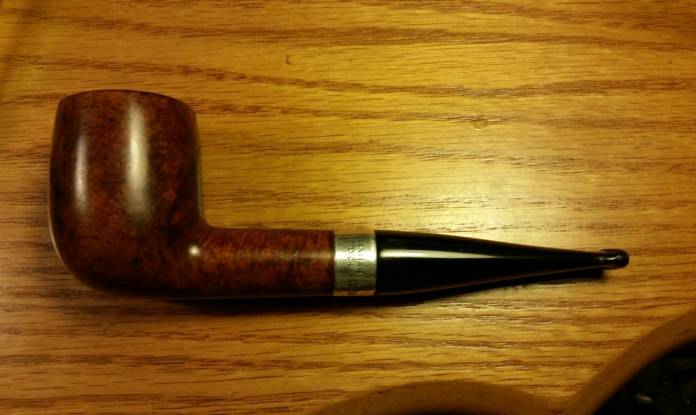
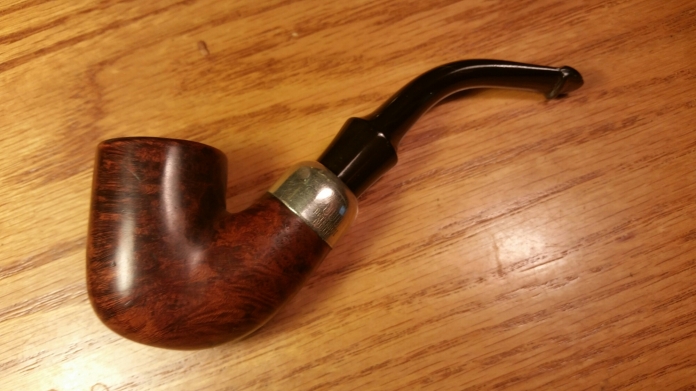
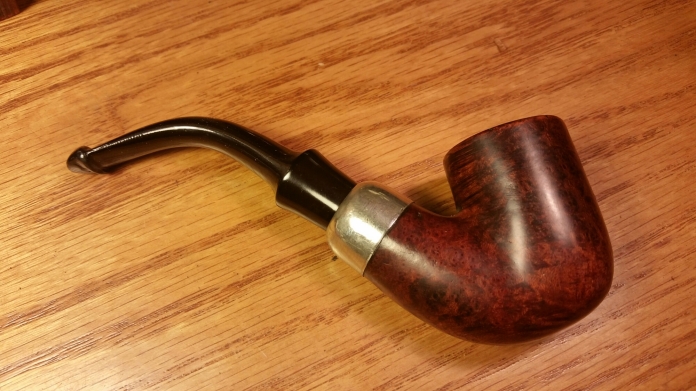
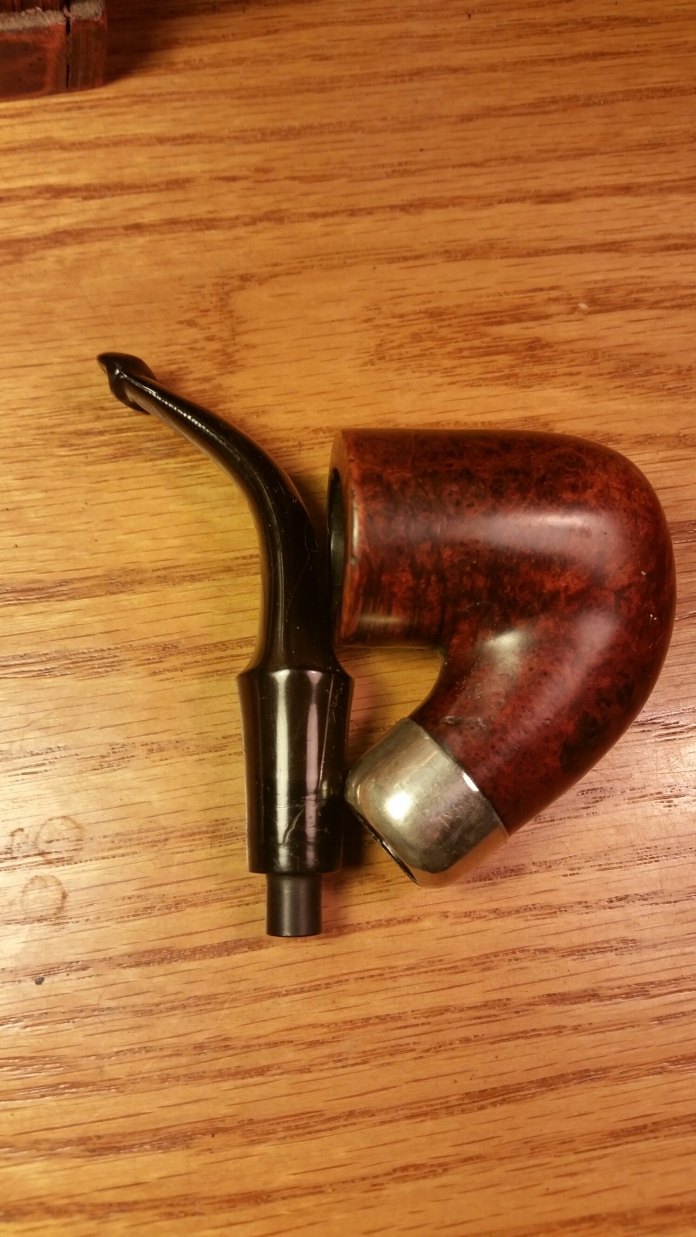
Here is my refurb on a Pre-Republic Peterson’s System pipe I got from ebay. It’s marked Peterson’s System 3, 363, Made in Eire in the circle format dating it to 1938 to 41. The nomenclature was almost buffed off, barely visible under magnification.
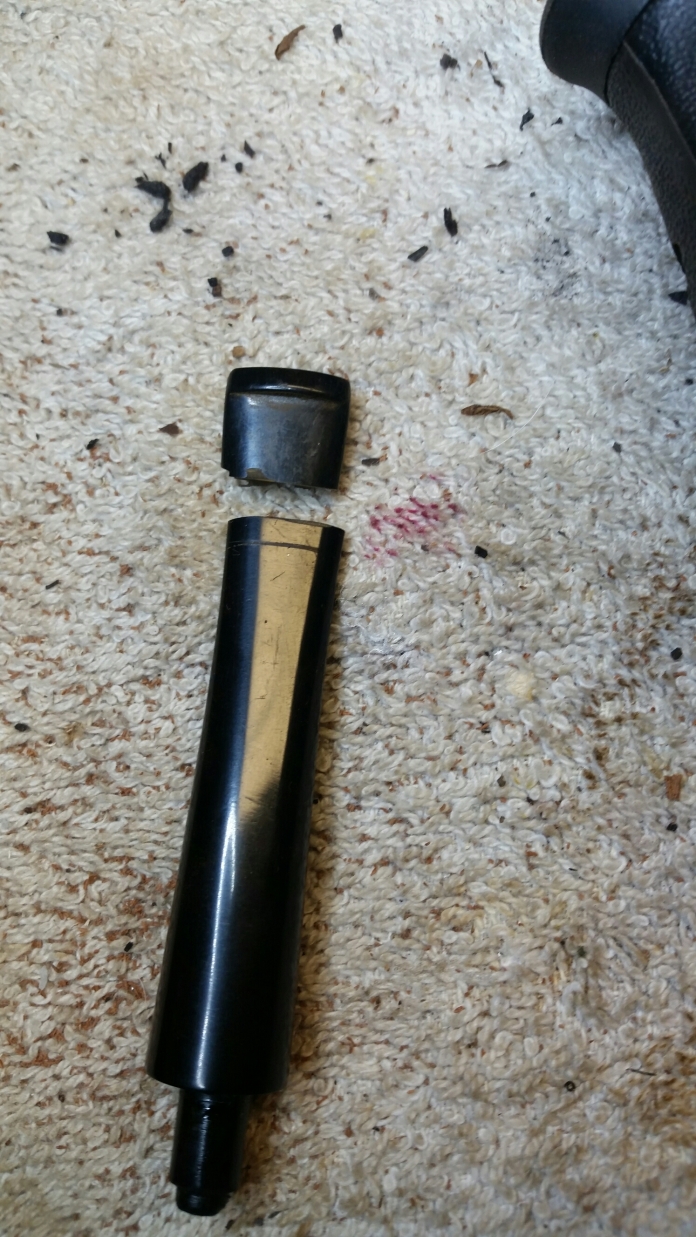
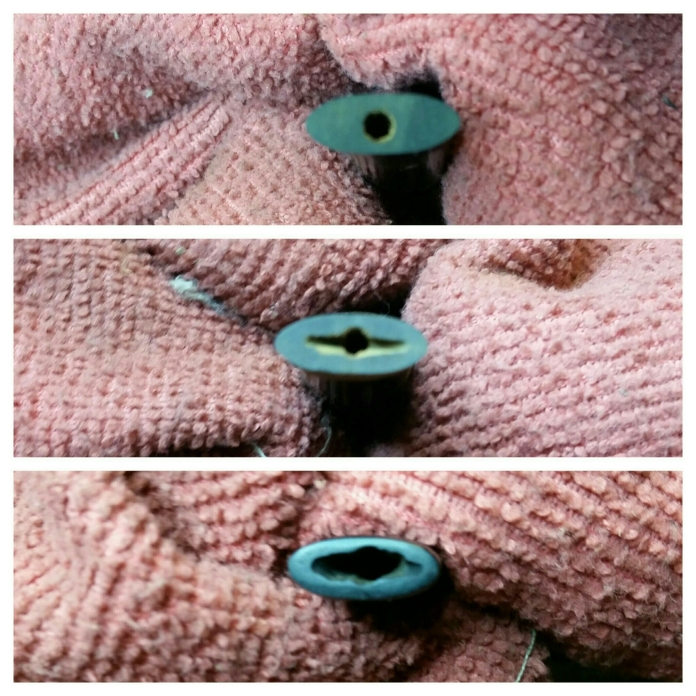
It was dark and grimy from many years of use, with a large burn mark on the shank. The rim had lava overflow and the outer edge had been banged enough to round it in a large area. The cake was rock hard in the lower half of the bowl. The stem was oxidized with some tooth chatter but my main challenge was that someone had filed most of the P-lip off.
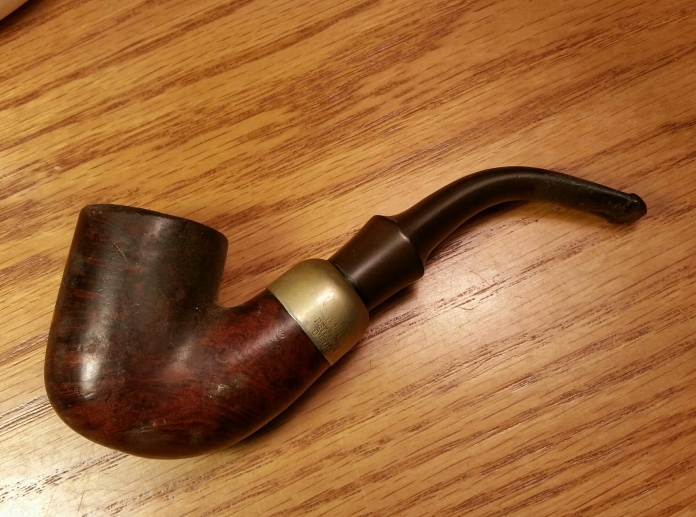
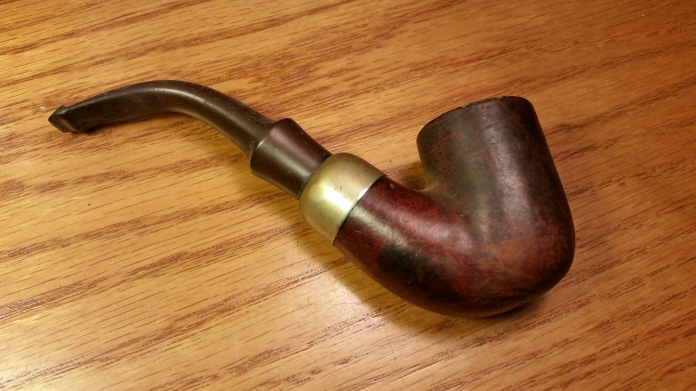
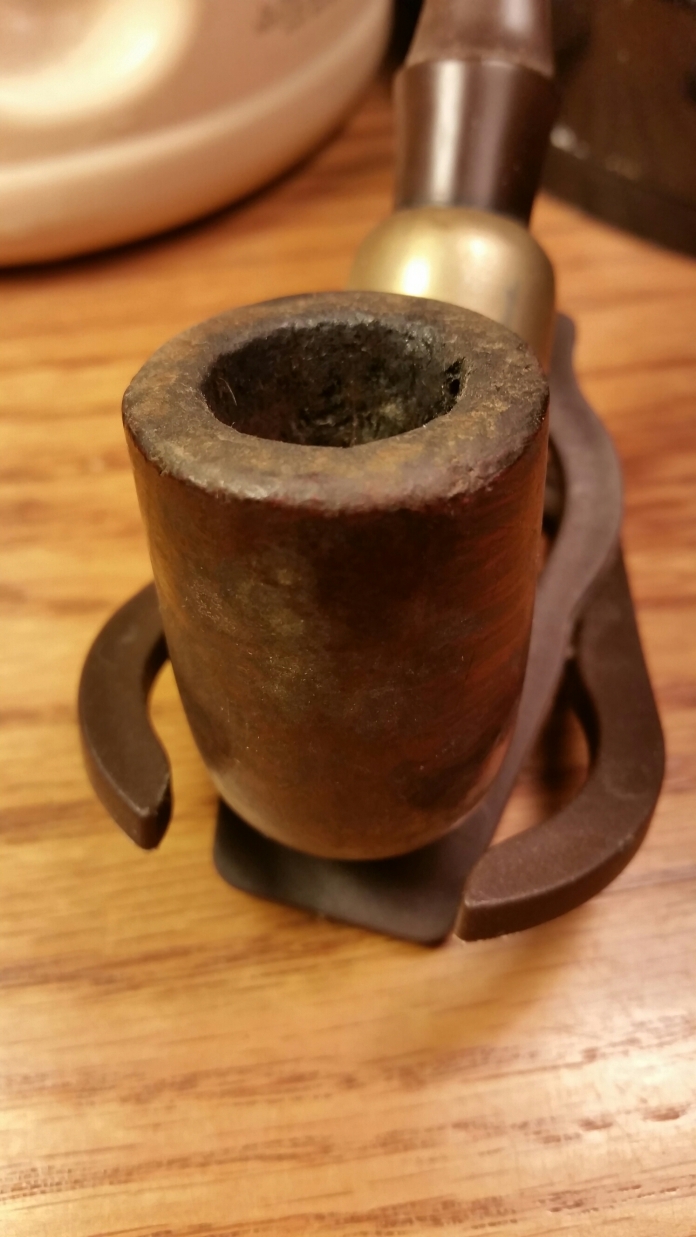
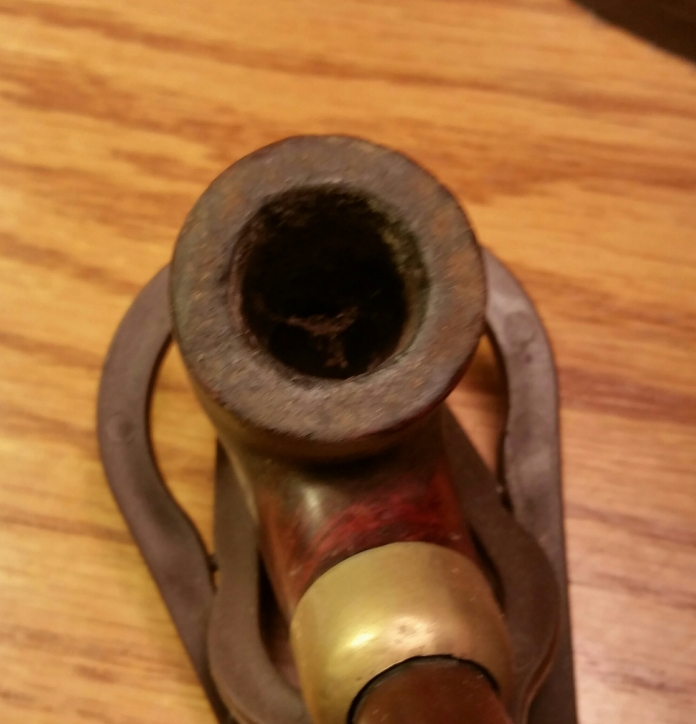
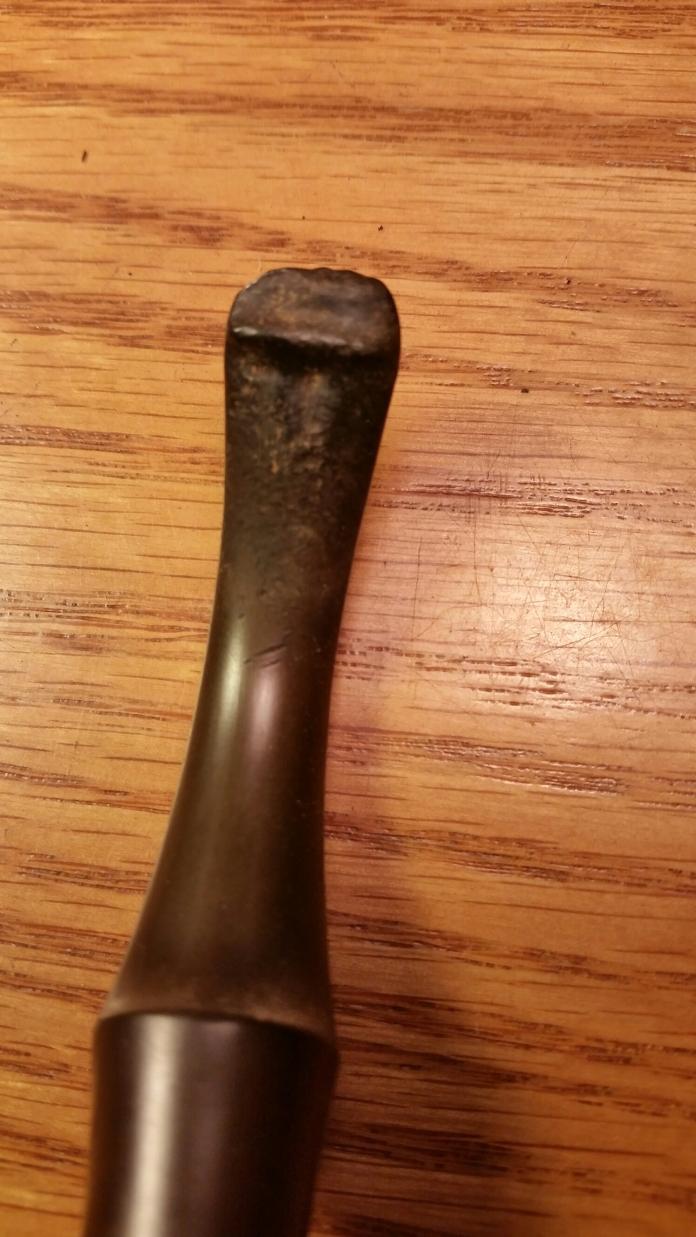
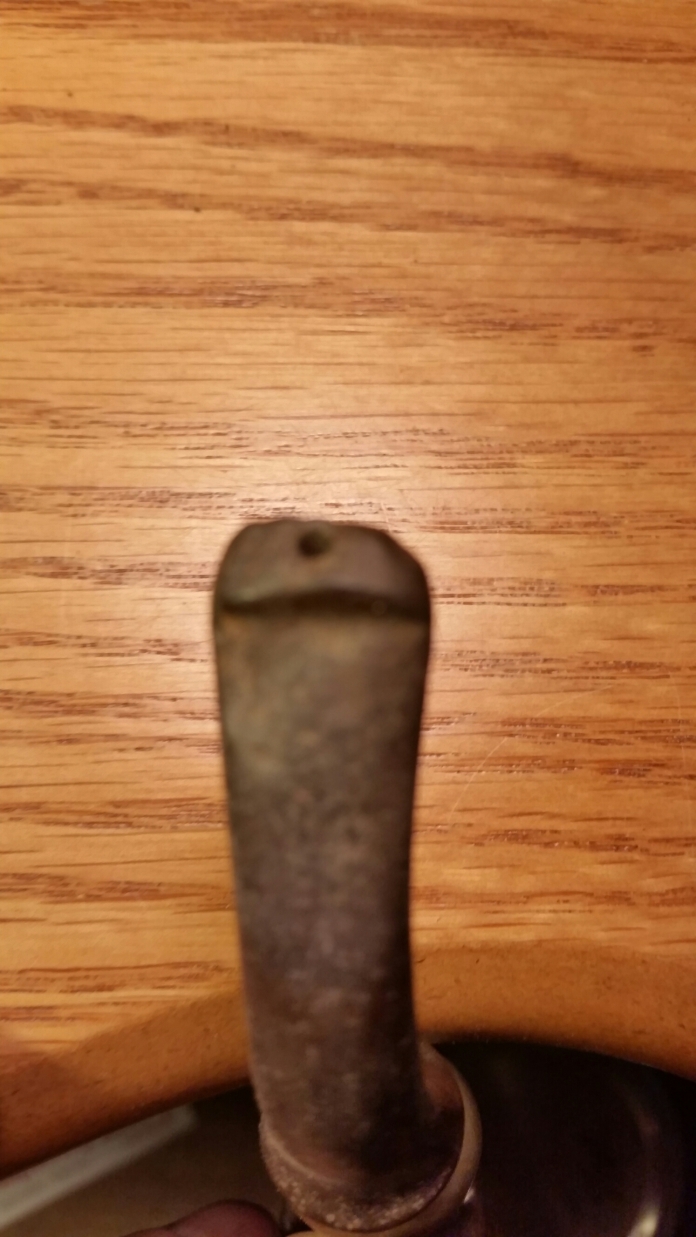
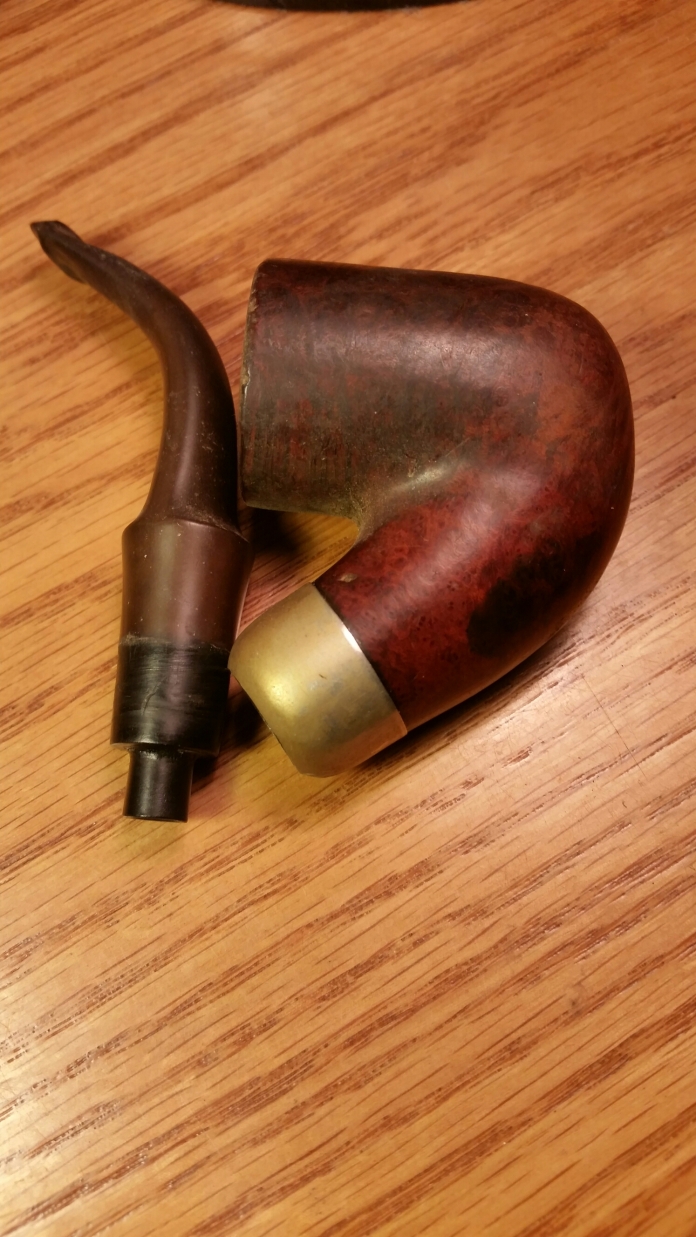
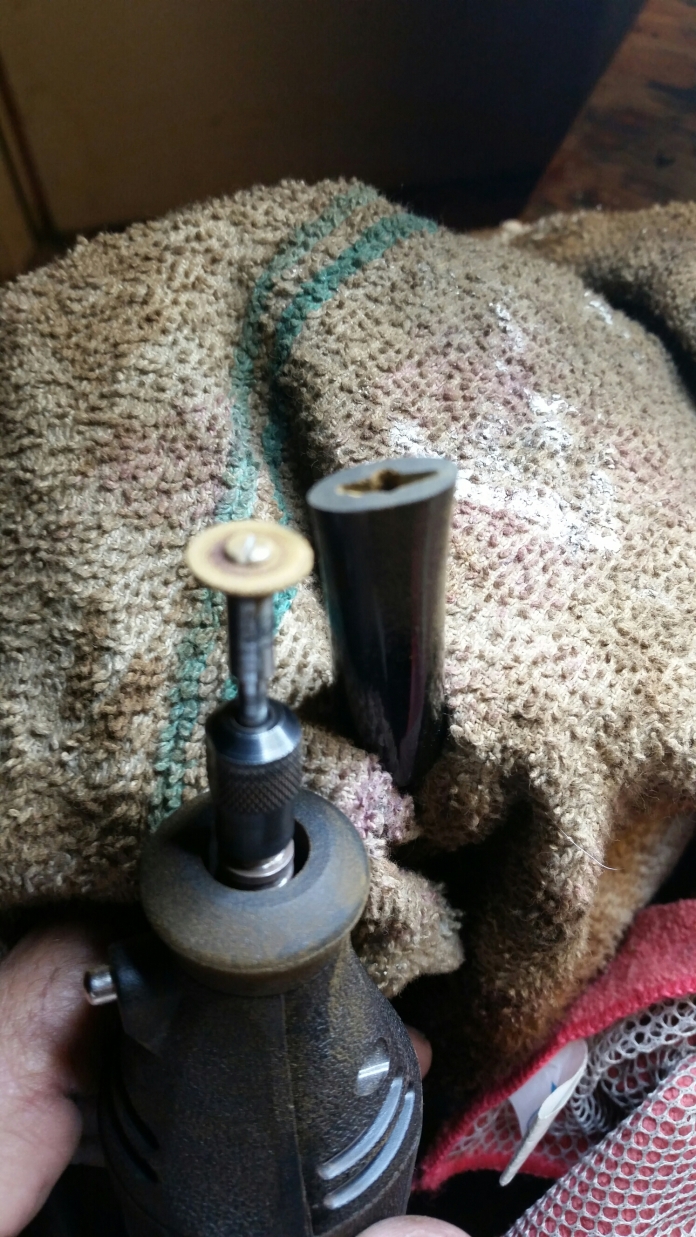
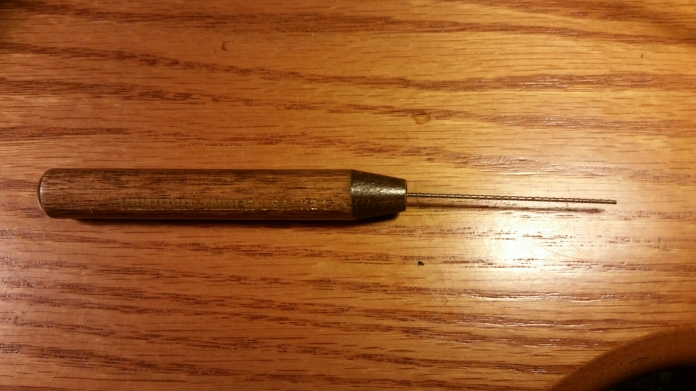
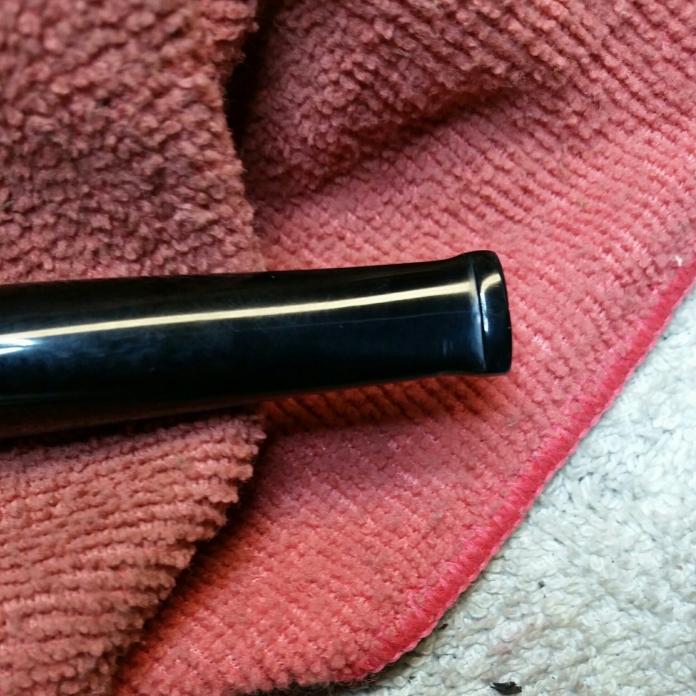
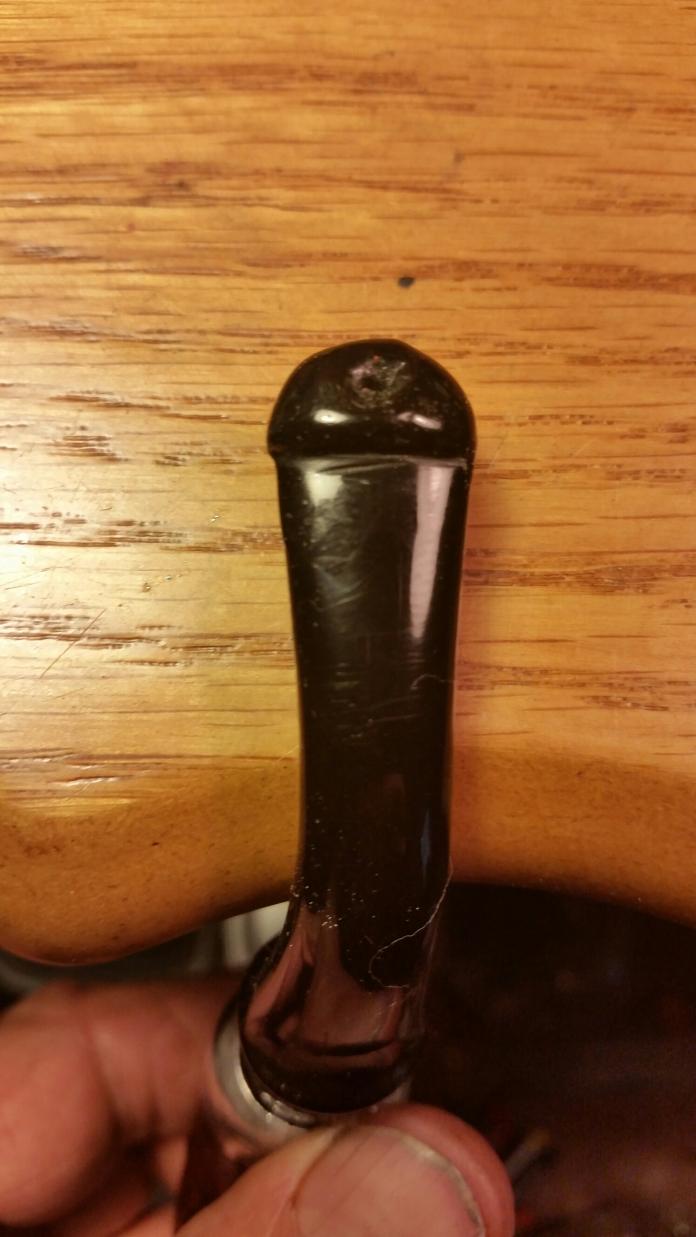
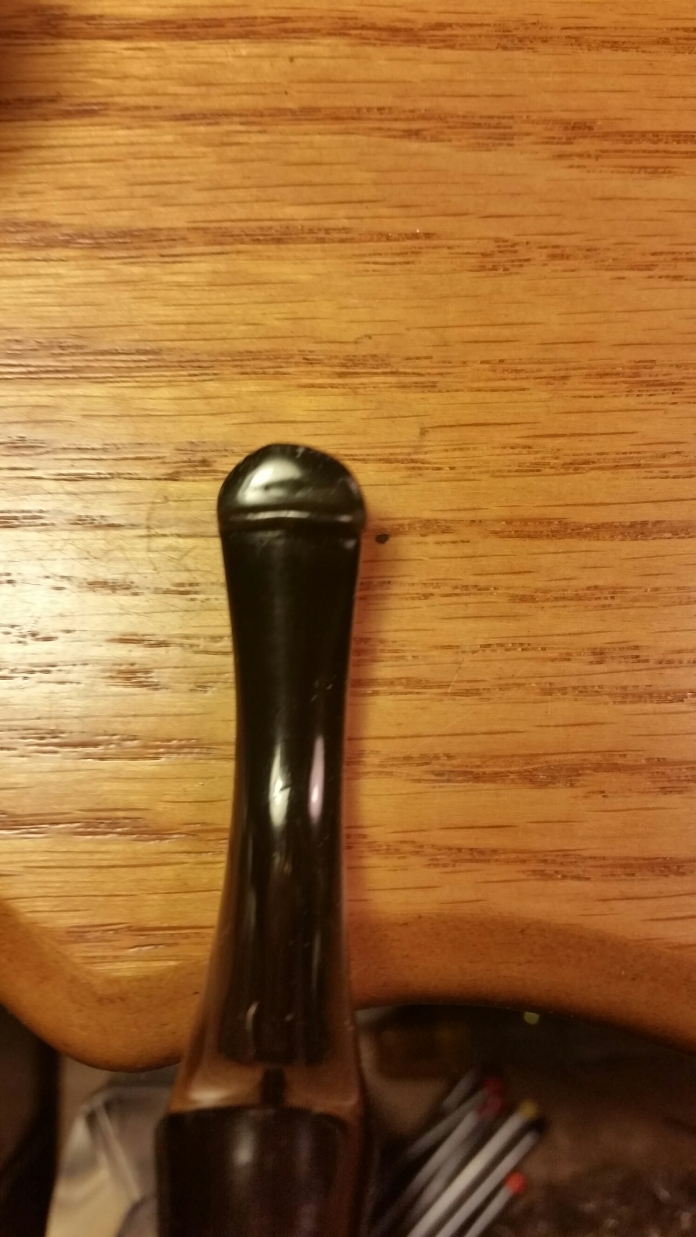
Okay, the cake was reamed out, I had to use the dremel along with my Castleford reamer. I said it was like cement earlier and I wasn’t joking! Then I did the cotton ball / alcohol treatment overnight. I put the stem in its oxyclean soak and scrubbed with a green sponge every few hours as the oxidation softened. Then I used the green and red tripoli on the stem while it was fresh from its soak. I got almost all the oxidation off this way. Then I used 220 paper on the bottom to get rid of the tooth chatter. I used charcoal and the medium black CA glue to build up the bit from the airhole to where it should be on a normal P-lip. I layered it on the edge and hung the stem upside down so the glue would dry into the proper position. I used many layers to build it up until it was looking like a factory P-lip stem. I also filled some deep dents and built up the bottom edge of the bit and let it dry in a horizontal position. Several layers were done until it was done. Overall it was several days work with the drying time between applications. I don’t use accelerator mainly because I wanted the strongest bond I could get, and I ran out, lol.
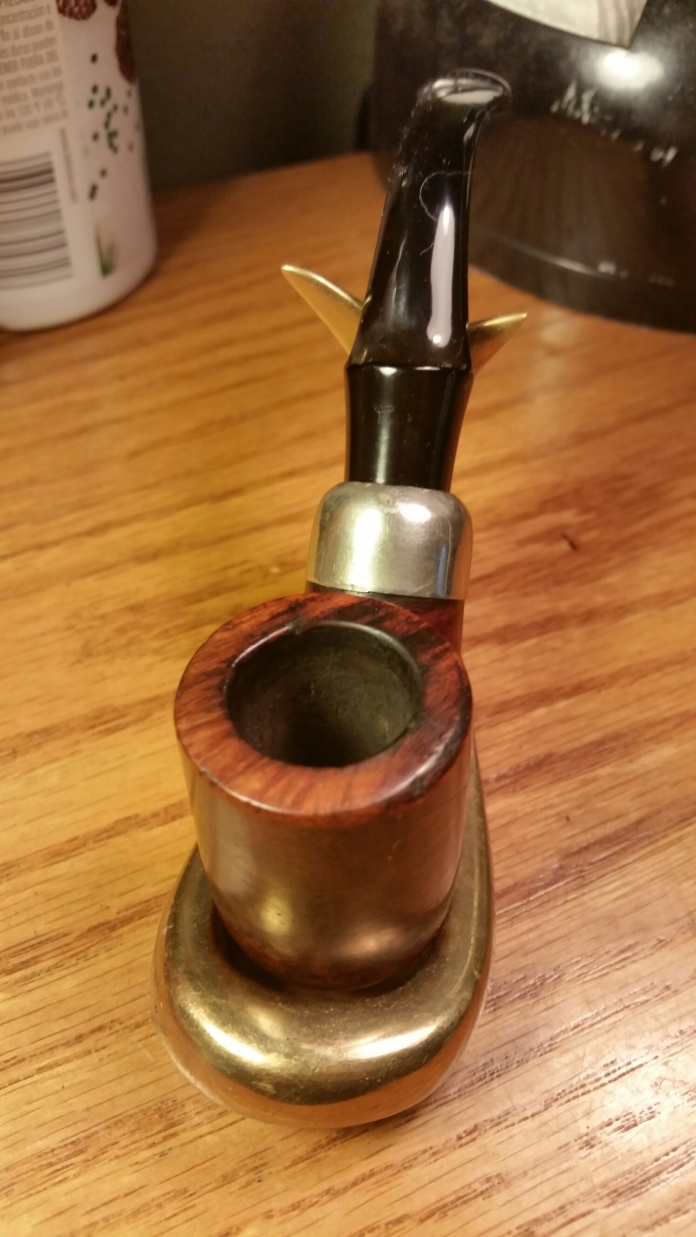
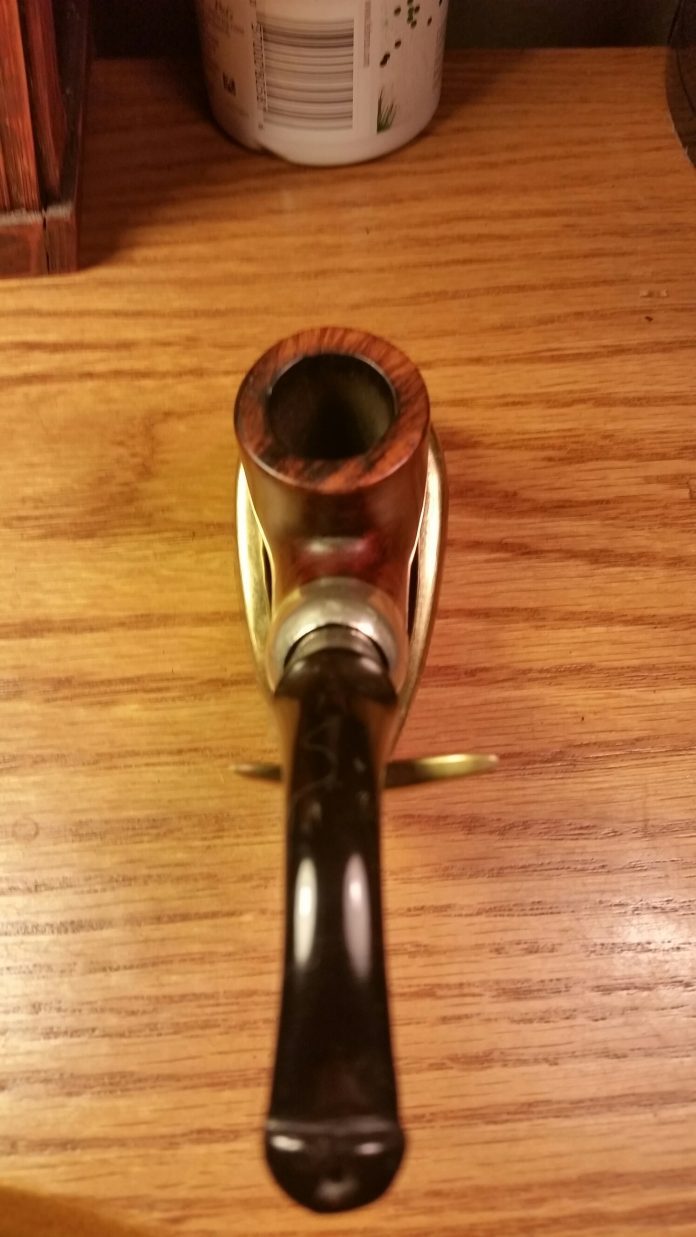
I apologize to any readers who aren’t familiar with the P-lip stem. The airhole is on the top of the bit to direct the smoke onto the roof of the mouth instead of burning the tounge.
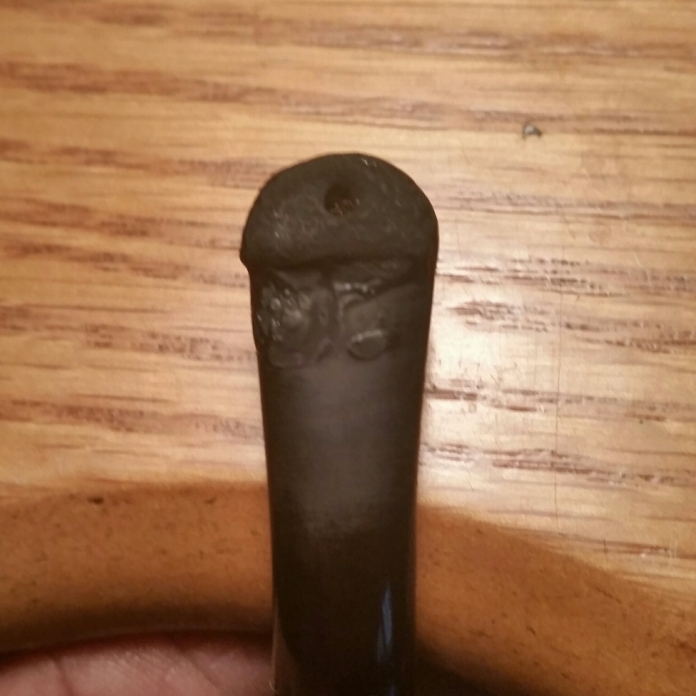
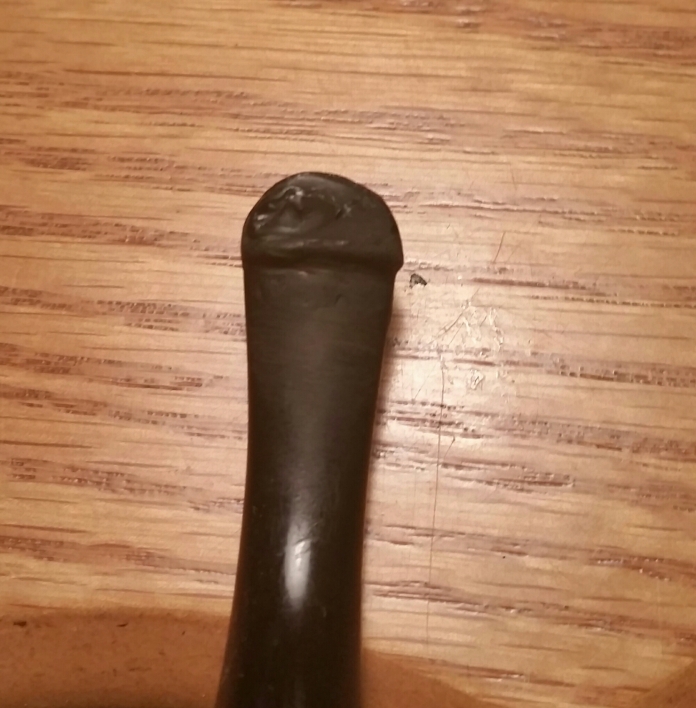
I used files, sanding blocks and all grits of paper to get it cleaned up. After the buffers, it looks pretty close to factory, even under magnification.
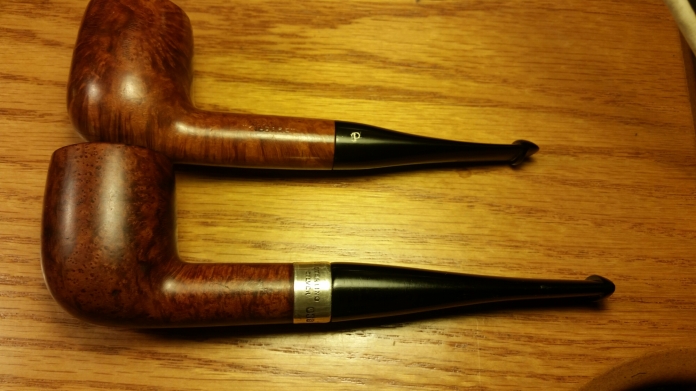
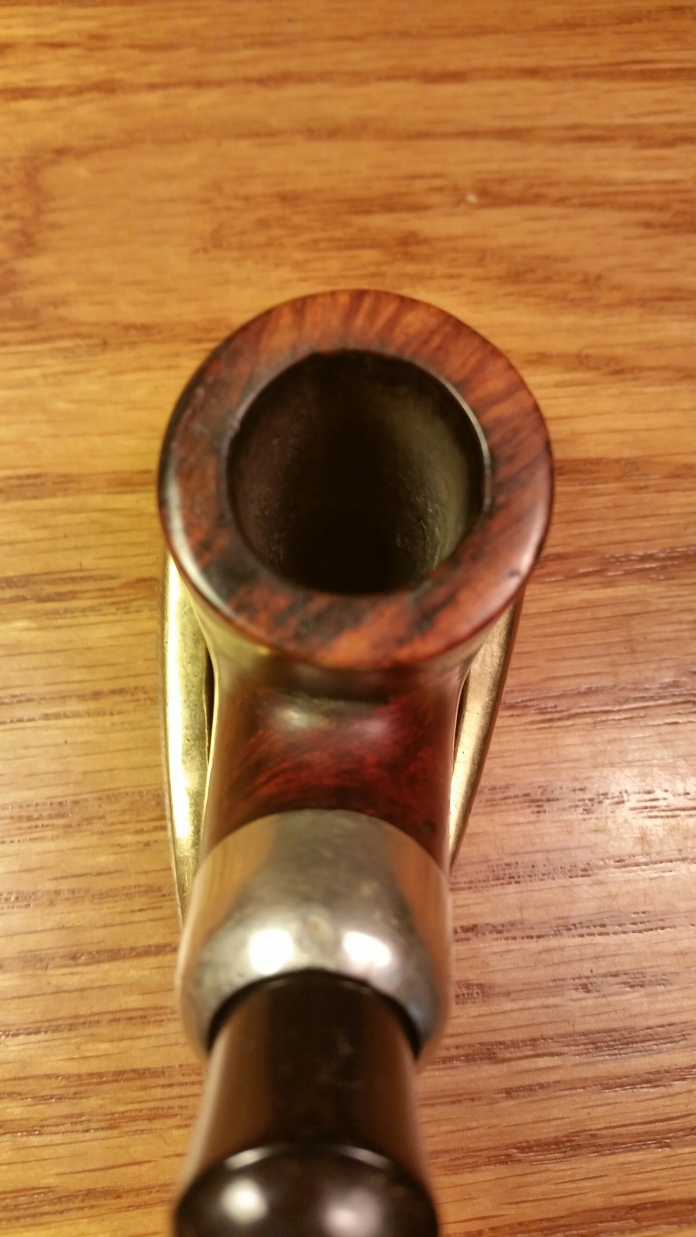
Meanwhile I was working on the stummel after the alcohol soak to remove ghosts and soften the tars in the System “well” which is designed to catch all the tars. The usual thick buildup can be prevented by swabbing out with a qtip after each smoke. Since the previous owners didn’t do this, I scrubbed it with pipe cleaners and qtips until they came out clean. The outside was wiped with an alcohol soaked pad and the rim was scrubbed with a green sponge to get the lava off. I lightly topped the bowl and sanded the outer edge slightly to smooth the roughness, not wanting to alter the original shape. I used bleach on a qtip on the burn area on the shank, gently dabbing until moist. I have found out the hard way it doesn’t take long to go from lightening a burn to bleaching white, which stands out as bad as a black spot. I used olive oil to blend the area and a medium brown stain wash over the whole pipe. Then I buffed it being careful around the nomenclature. Here it is, not bad for a 75 year old pipe!
Thanks for looking!
